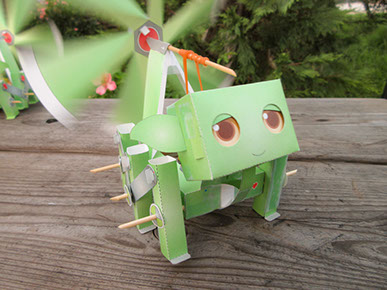
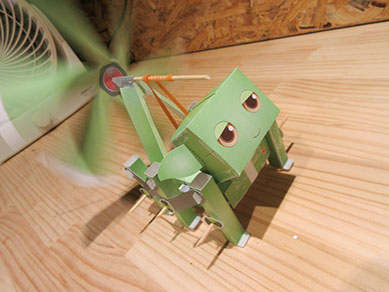
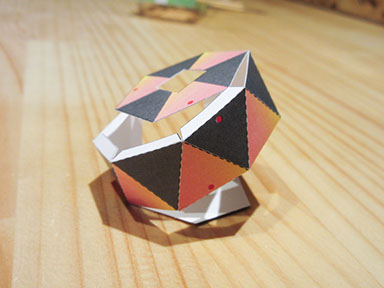
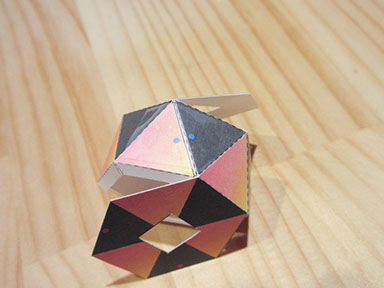
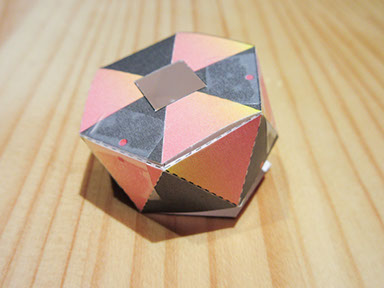
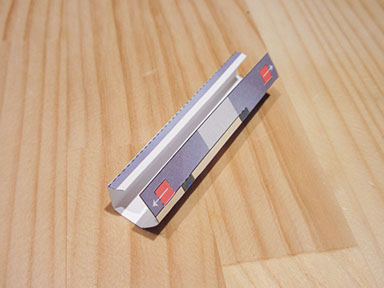
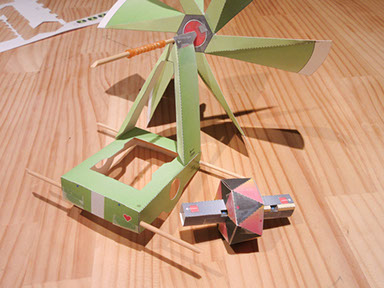
We introduce about how to make a Craftel at this page. The version of the Craftel is Beta 1.0.
Craftel Beta 1.0
1.Parts and tools
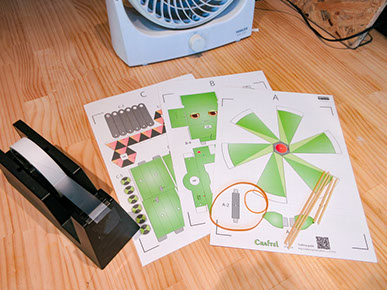
If you get an evaluation kit, you just need is a cellophane tape for assembling.
It include these parts:
- Paper pattern (A,B,C) * 3 sheets
- Long skewer (L=135mm, φ2.5mm ) * 3 pcs
- Short skewer (L=85mm, φ2.5mm) * 2 pcs
- Large rubber band (#30 , 3mm) * 1 pcs
- Smallarubber band (#14 , 1.1mm) * 1 pcs
Please prepare an electric fan for walking test .
2.Making windmill
Windmill is like an engine of the Craftel.
This parts convert wind to the rotational motion.
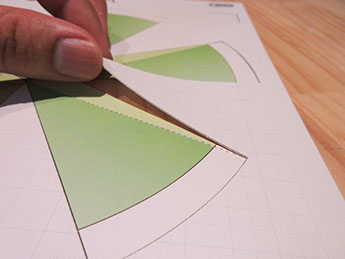
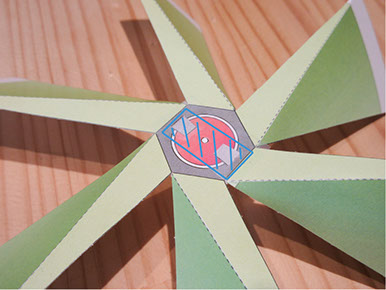
We already cut the paper pattern, so you can separate it by hand.
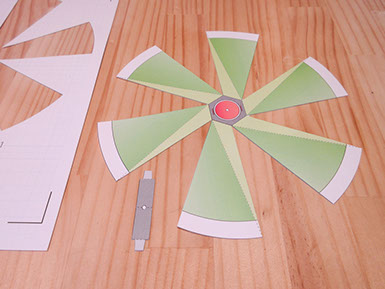
1. Cutting the parts A-1 , A-2
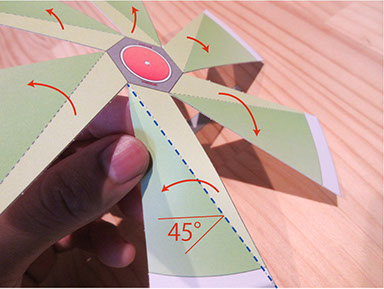
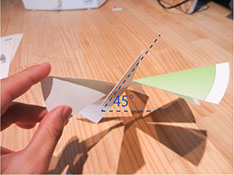
2. Folding the all 6 wings along the folds
*Please fold about 45° angle like right picture
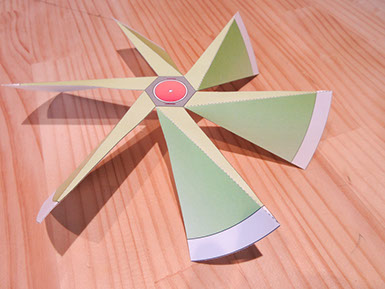
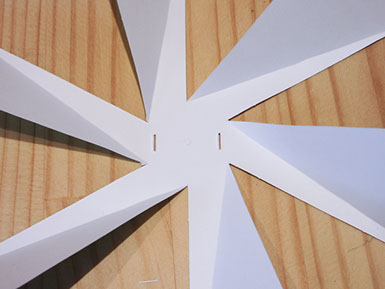
3. Folded
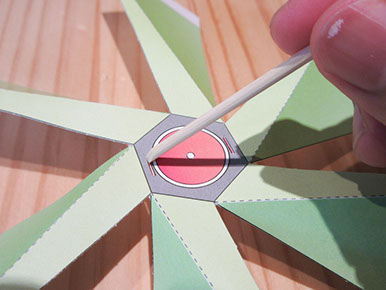
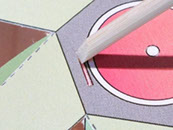
4. Removing rectangle parts using skewer
5. Removed (From back)
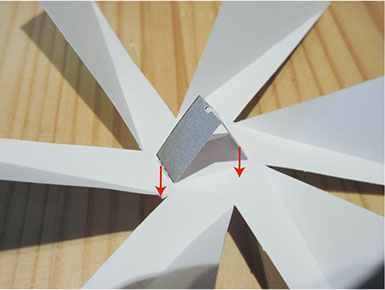
6. Folding A-2
7. Putting A-2 to A-1
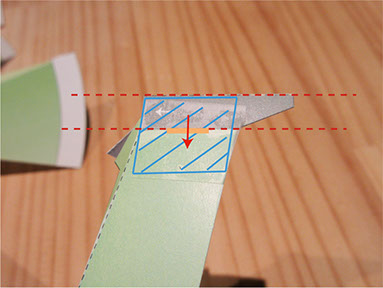
8. Folding A-2 parts
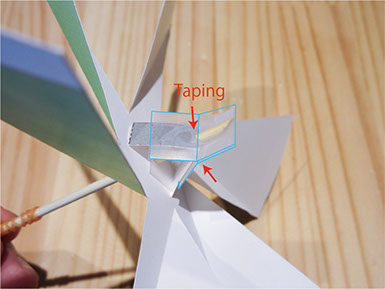
9. Taping A-2
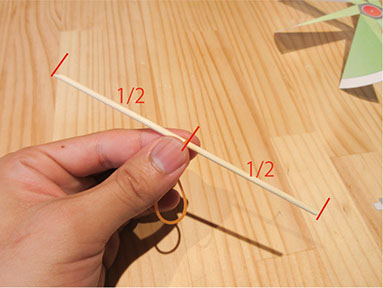
10. Preparing Skewer(Long) and rubber band(Small)
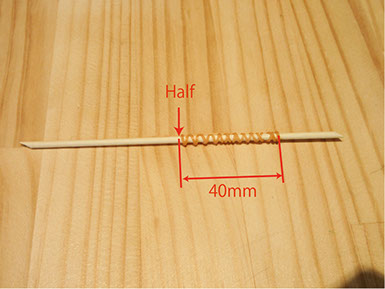
Put rubber band to skewer about half place like the picture
11. Round rubber band to skewer
(Please reference this video↓)
* Please becareful not to get hurt by skewer.
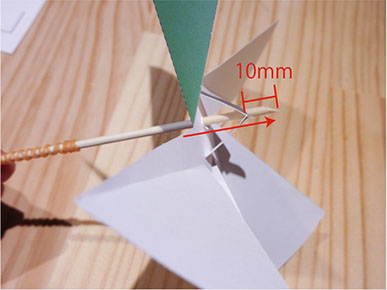
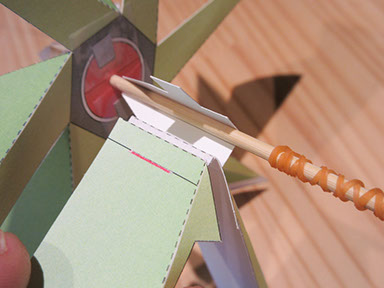
12. Put skewer to A-1 and A-2 like this
13. Taping skewer from 2 directions
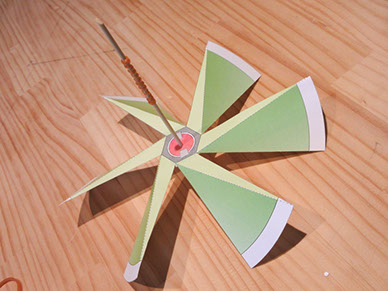
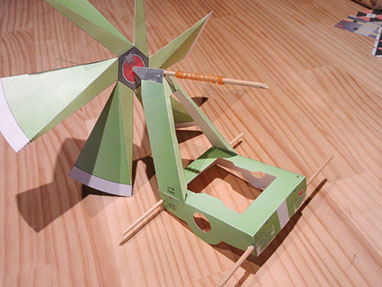
14. Completed windmill
3.Making windmill stand
This parts is very important for working windmill stably.
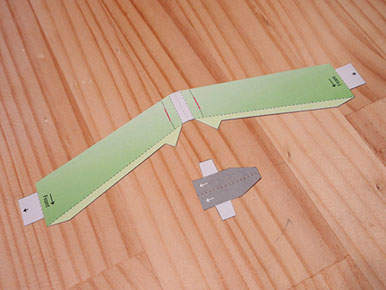
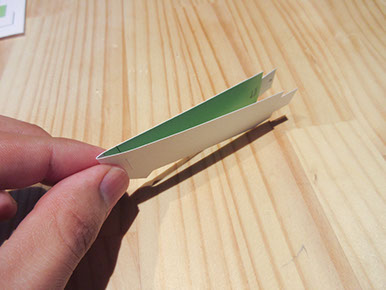
1. Cut B-2, B-3
2. Fold B-2 to half
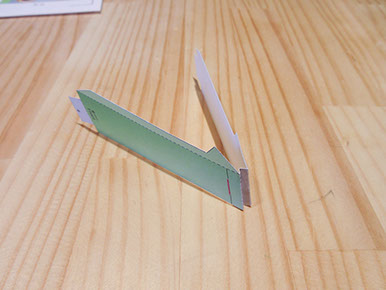
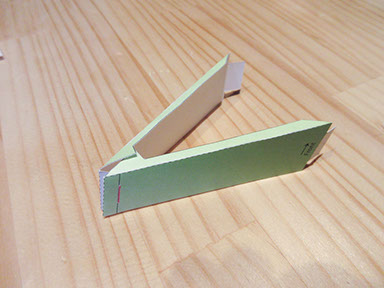
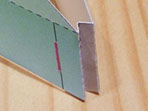
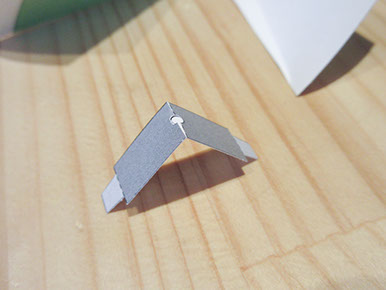
3. Fold B-2 (2 places) and making "M" top shape
4.Fold the side of the B-2
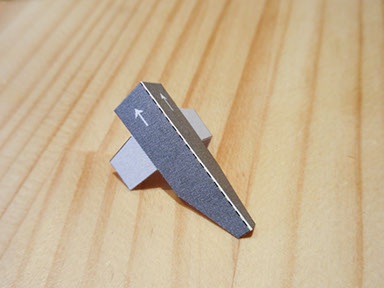
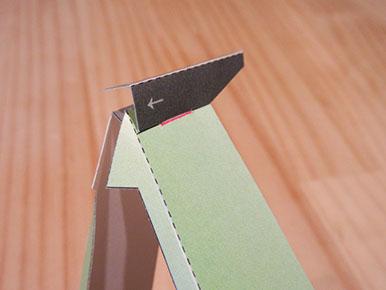
5. Folding B-3 90 degrees like this
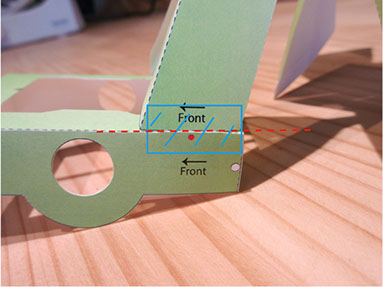
6. Putting in one side(left side in this picture) of B-3 to the Red cut line.
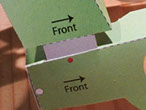
*Be careful the input direction "←" as a front.
7. Taping (left side only)
* The parts "must" become parallel like the picture
8. Put windmill's skewer in the B-3 like this
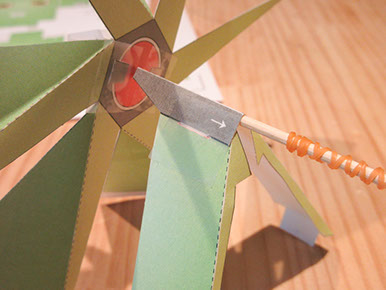
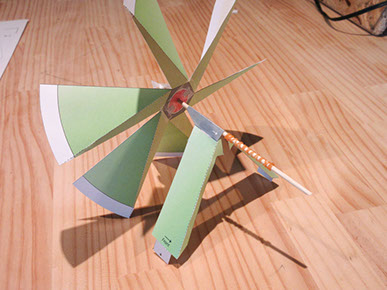
9. Put in the other side of B-3 to the red line
10. Windmill stand completed
4.Making chasis
Chasis is a main frame of the Craftel.
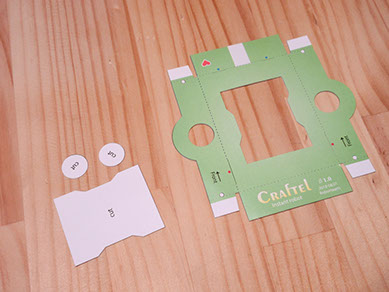
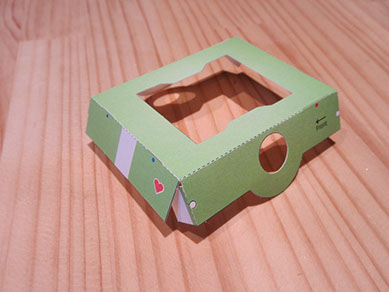
1. Cut B-1
2. Fold B-1
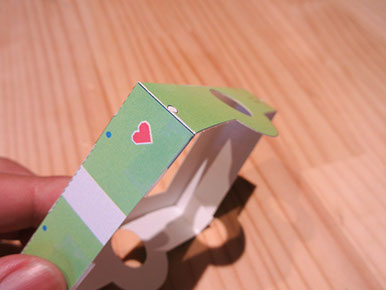
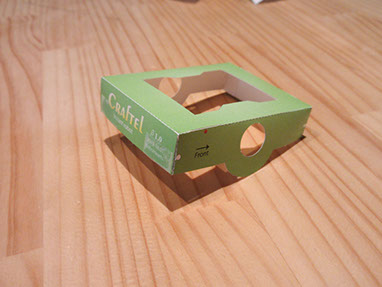
3. Tape each 4 corners
4. Taping completed
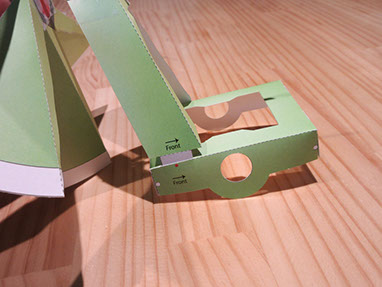
5. Put in the windmill stand to the Red circle● cut line(both sides)
6. Adjust the angle of the windmill stand and tape it
7. Taping windmill stand like this (important !)
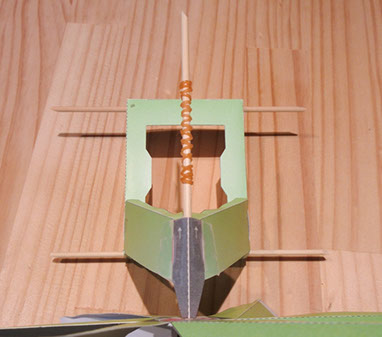
8. Put skewer in to the chasis
9. Please check the skewer of the windmill is straight with chasis like this.
3 skewers makes shape like "土".
10. Chasis completed
5. Making purey and crank
Purey and crank is the parts which convert the windlill's motion to the motion which can drive leg's mechanics.
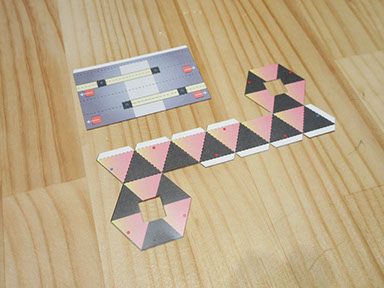
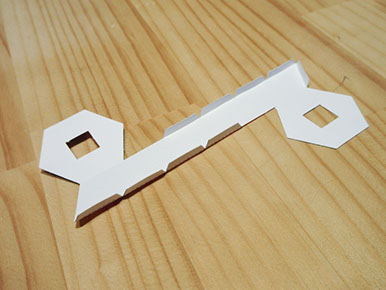
1. Cut C-1, C-2
2. Fold the side area of C-1
3. Fold triangle and side surface
4. Taping and connect both blue circle ● surfaces
5. Taping and connect both red circle ● surfaces
6. Folding C-2
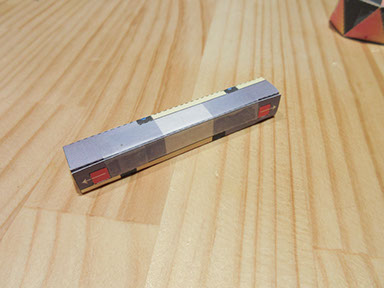
7. Taping C-2
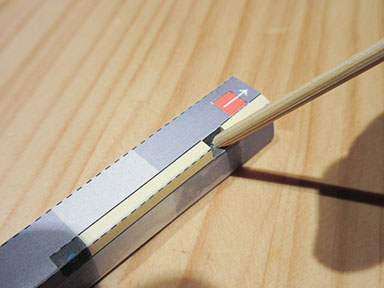
8. Pushing the 4 places of the blue circle ● area by using skewer Please check the video ↓
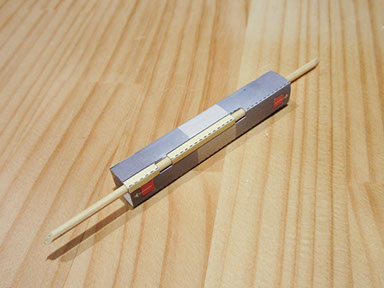
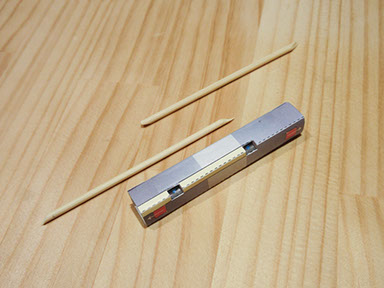
9. Inserting skewers to the corners like this
* It's easy to insert if rotating skewer
10. Remove both skewers for now
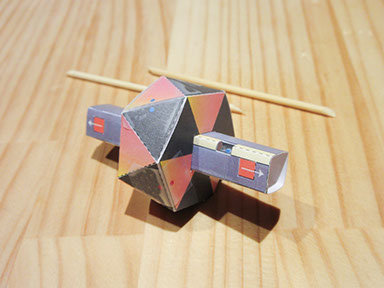
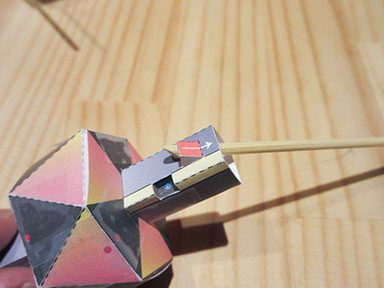
11. Inserting crank (C-2) to the purey (C-1)
12. Rising red panel (4 places)
using skewer from inside
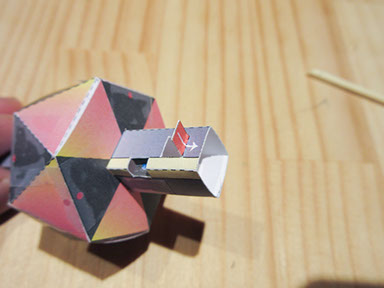
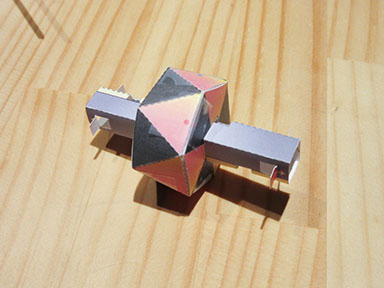
Folding red panel 90 degrees (4 places)
13. Complete the purey crank
6. Installing purey and crank
Purey and crank is the parts which convert the windlill's motion to the motion which can drive leg's mechanics.
1. Prepare the body and purey crank
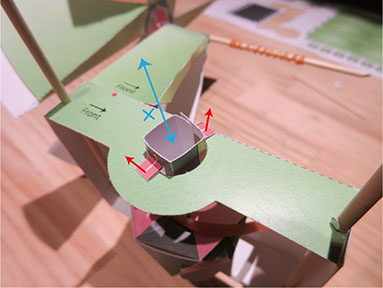
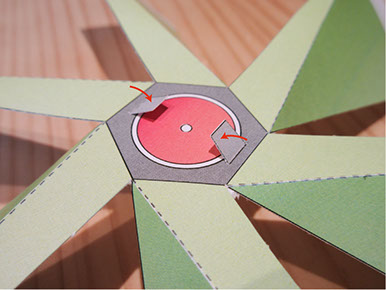
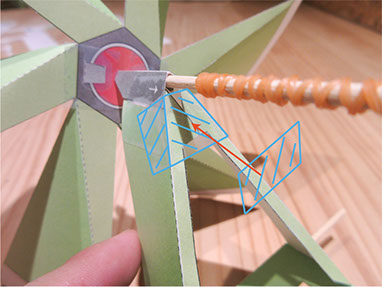
3. Rising red panel
This panel is for prevent moving crank to left and right like blue arrow
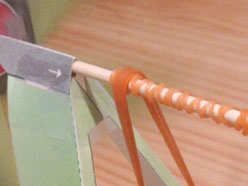
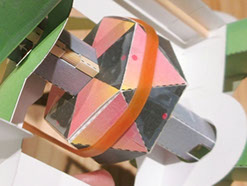
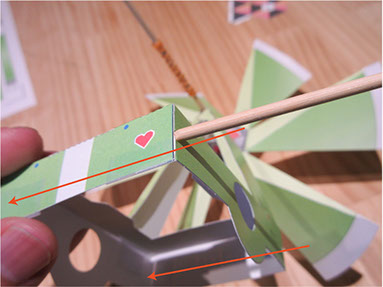
2. To pass axis to one side of the large hole of Chasis.
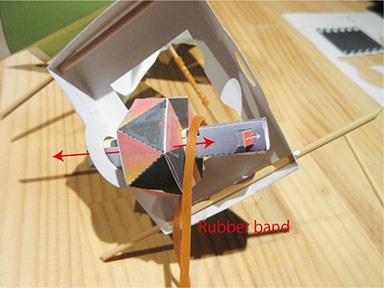
in to large rubber band
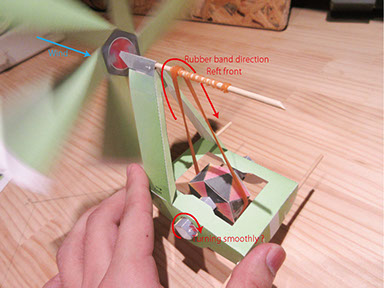
4. Turning test
Put rubber band to the skewer and purey like the pictures
Turning test
