Making Craftel evaluation kit Beta 1.0
7. Making legs
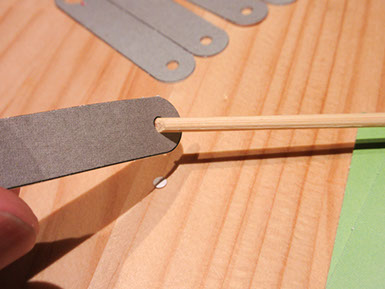
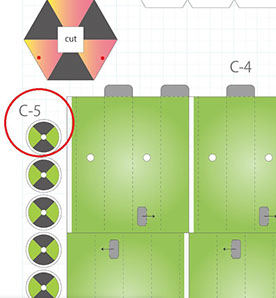
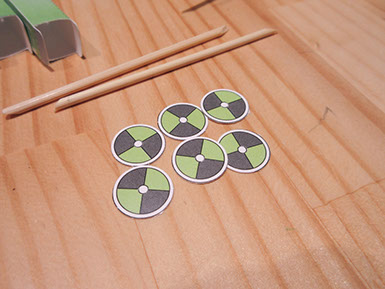
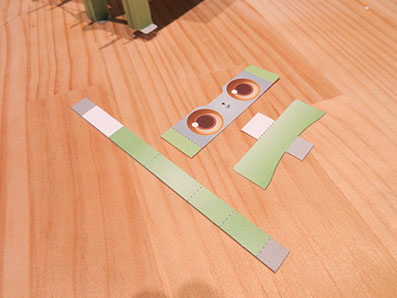
1. Cut C-3, C-4 and C-5
It's easy to make hole using skewer
This parts is fragile, so remove the hole carefully
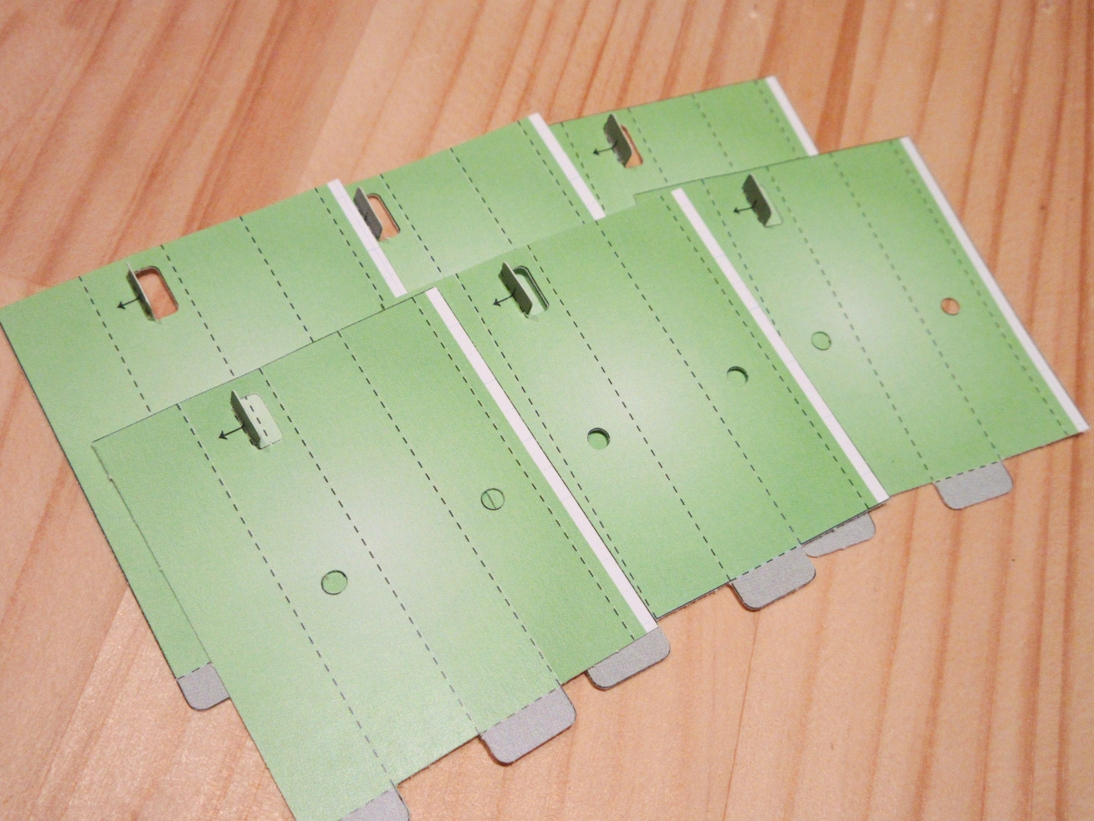

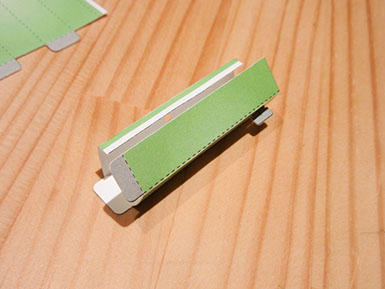
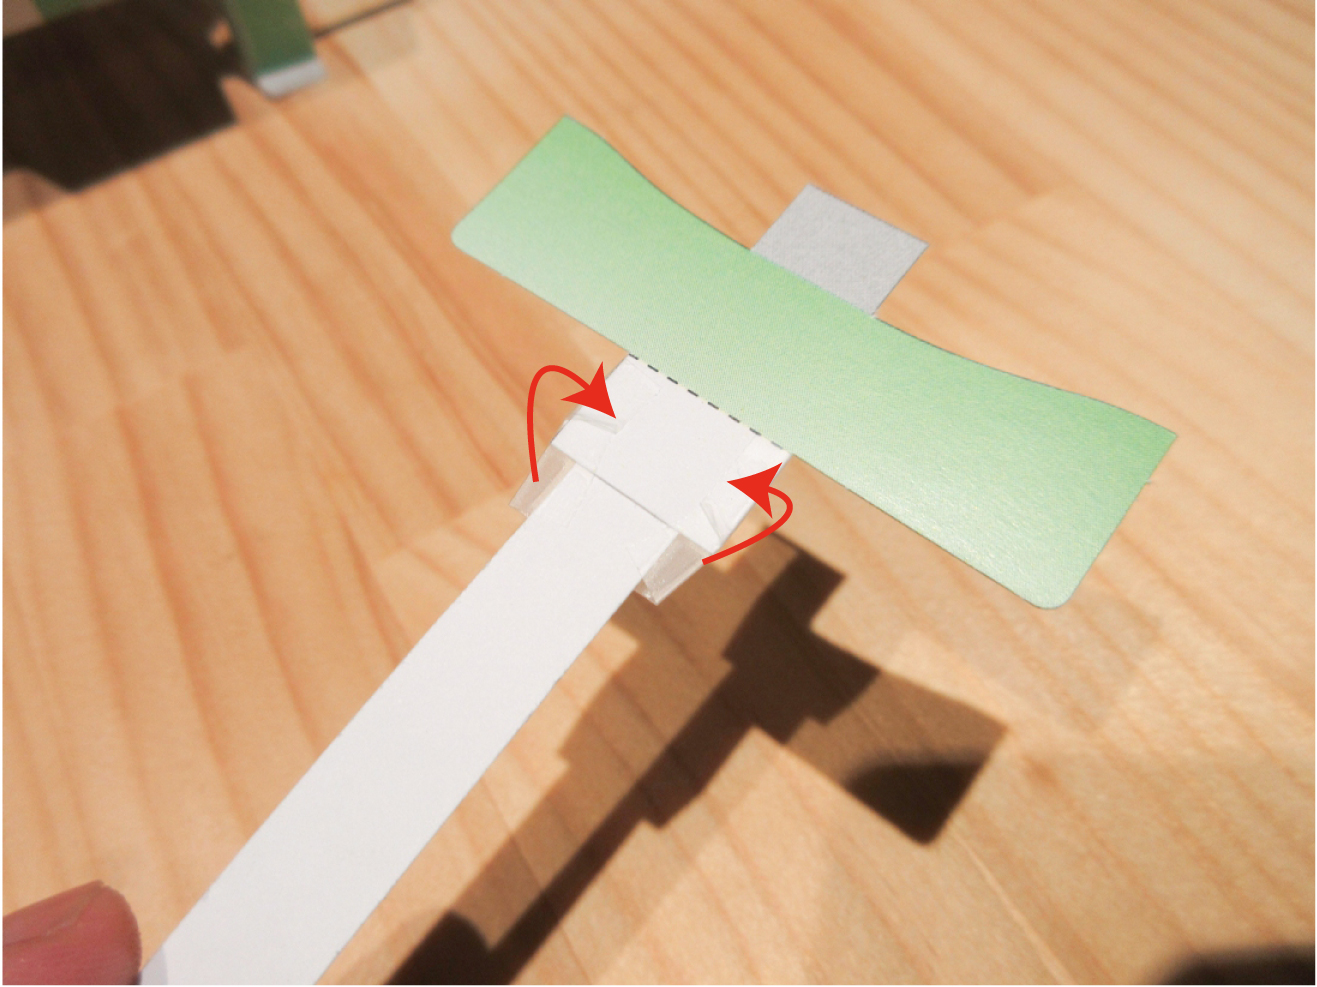
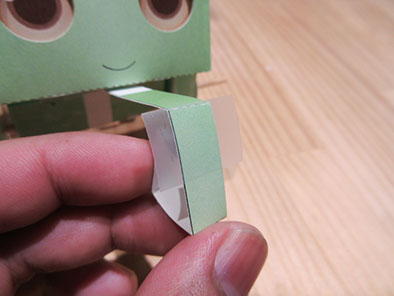
2. Folding up the parts in C-4
The folding angle should be about 90 degrees.
*Please don't fold too rapid angle
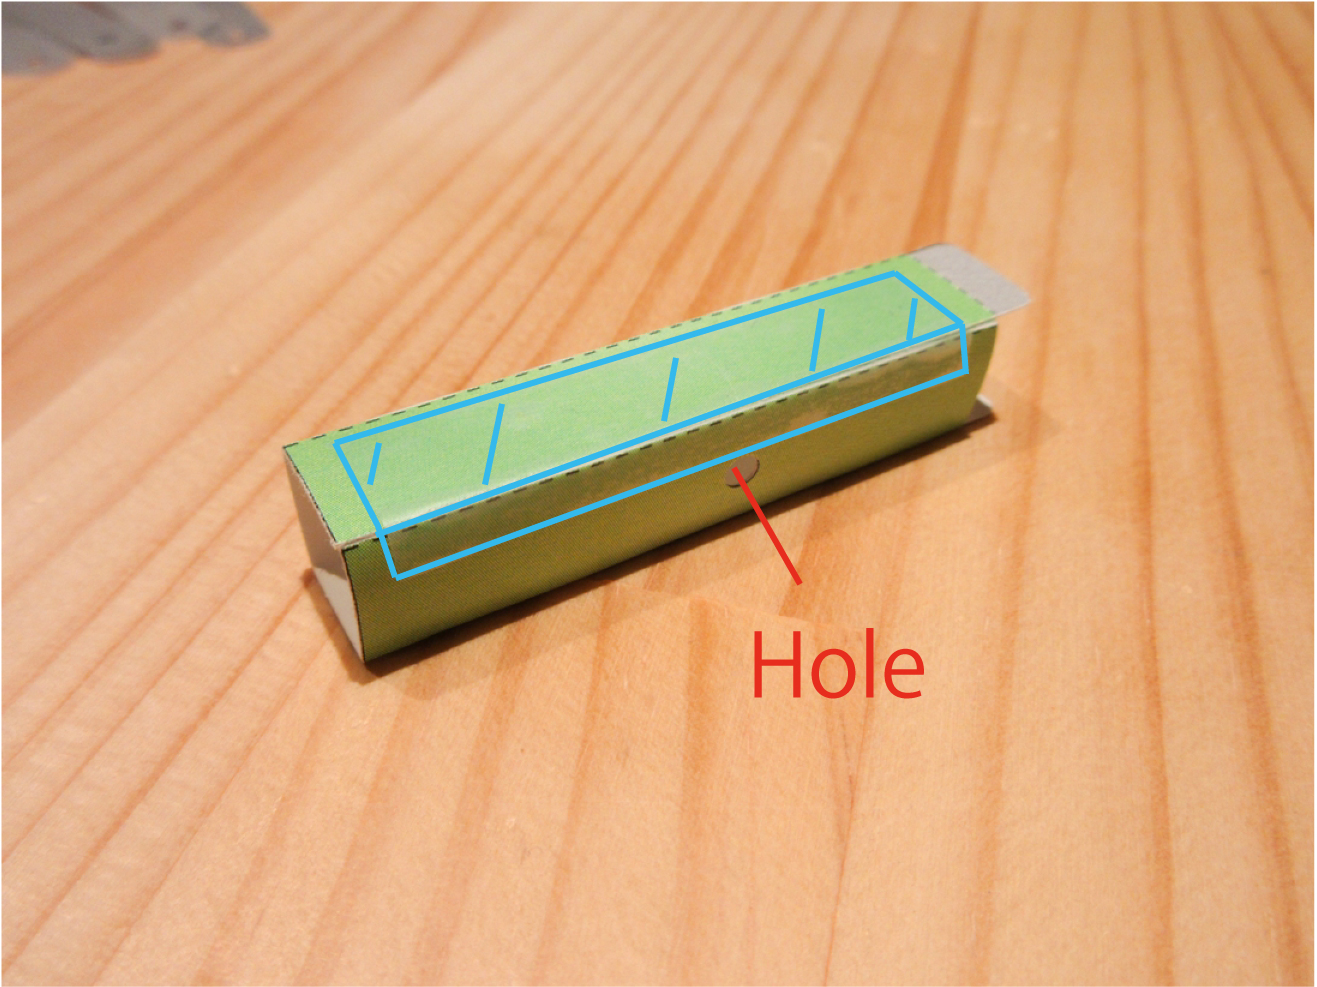
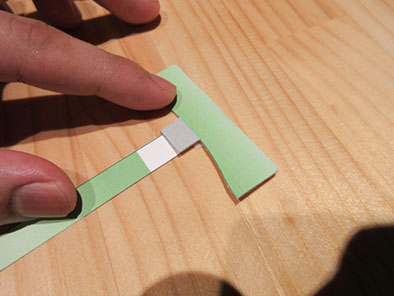
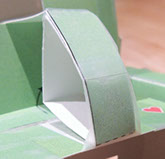
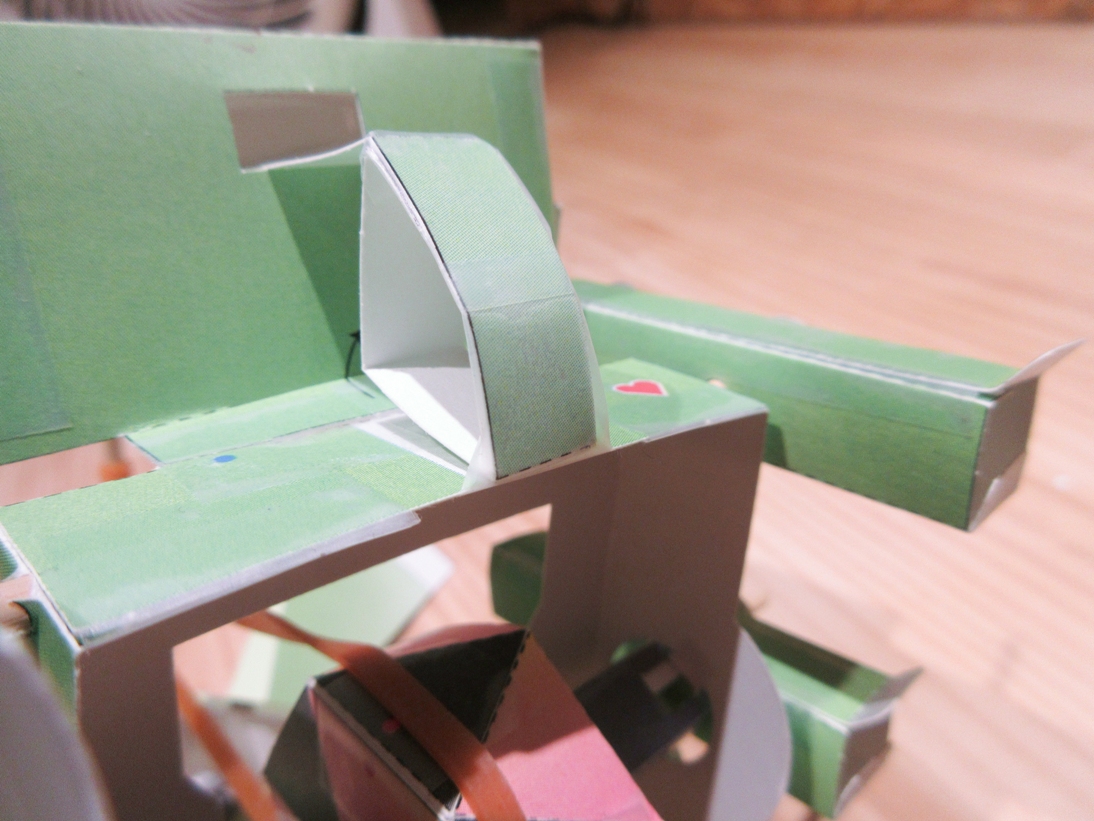
3.Folding legs
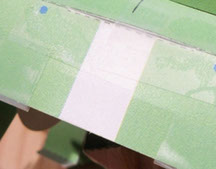
4. Taping legs (please don't put tape on the holes)
1
2
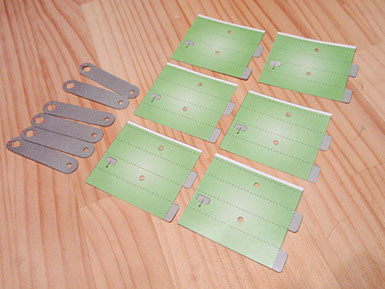
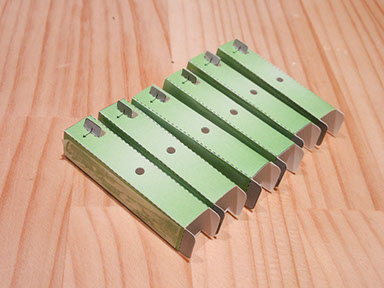
5. Taping all legs
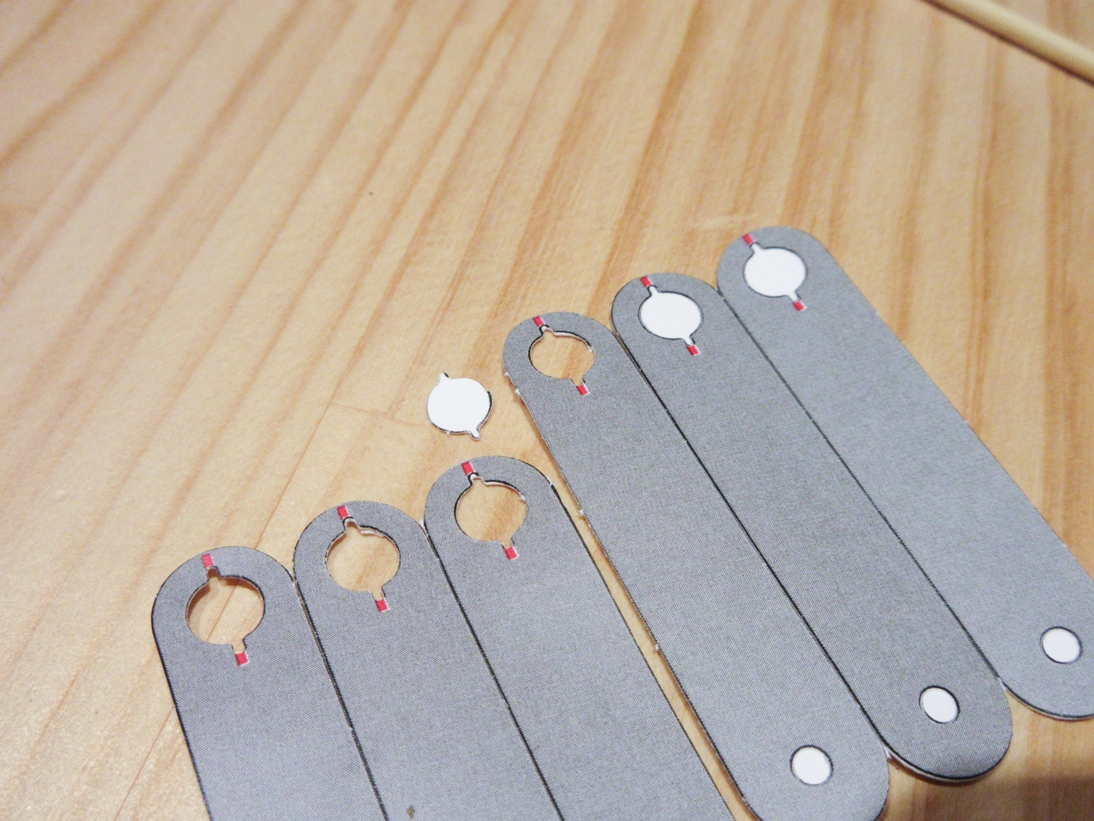
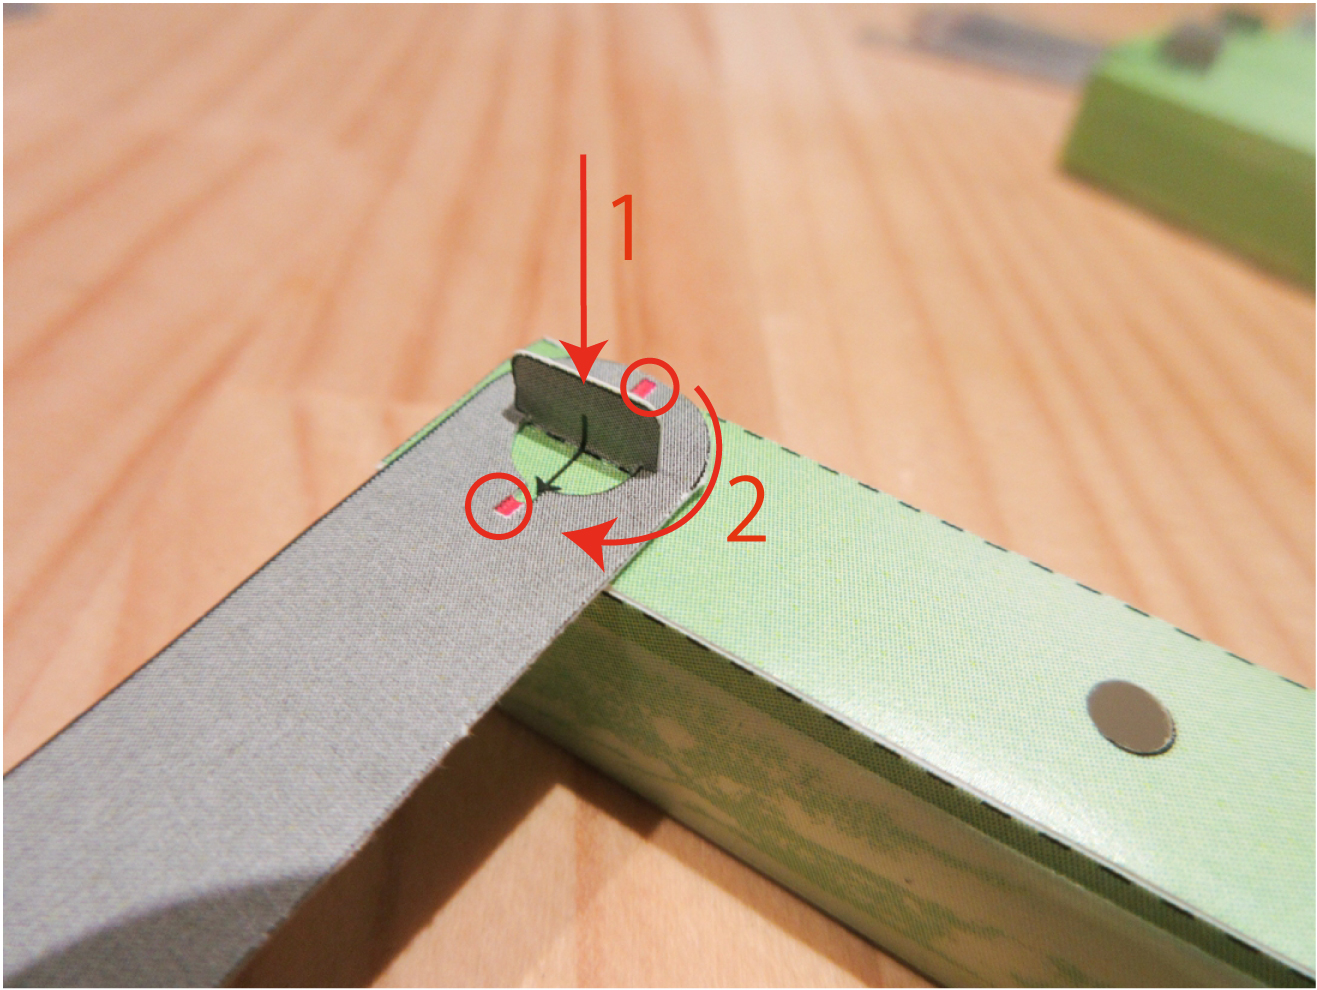
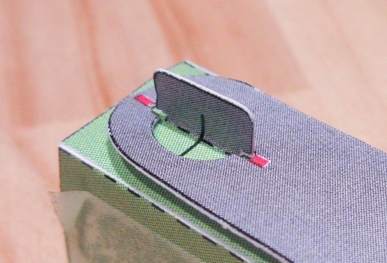
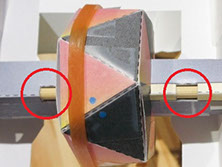
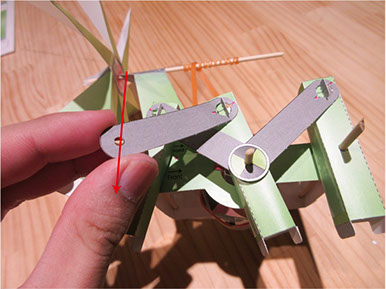
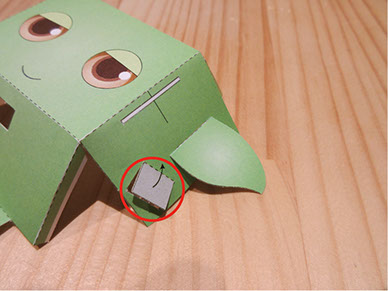
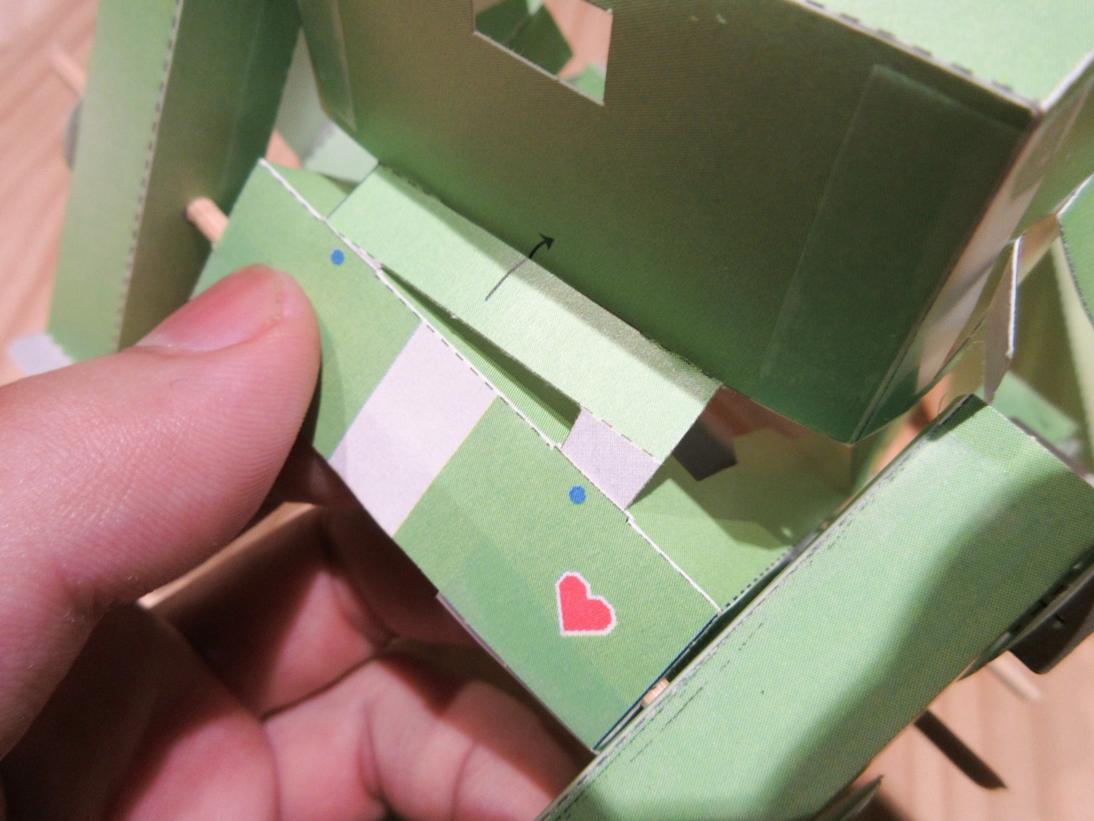
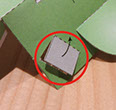
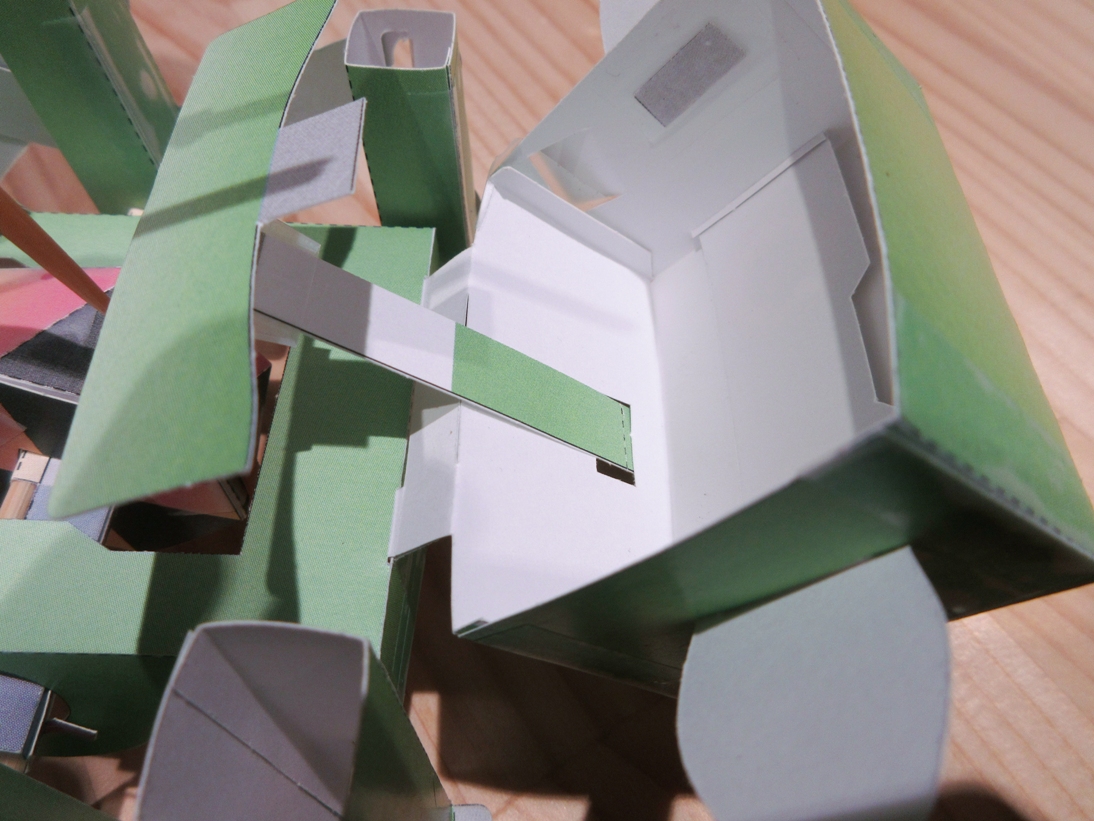
6. Installing C-3 to leg
It will be broken if turning powerfully.
Please put C-3 from the red circle position in the picture .
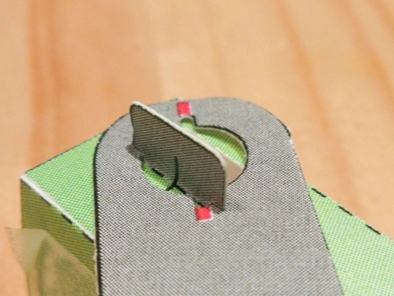

Please turn again if like this state
Installing C-3 to all legs.
3 for installing to left and 3 for right.
8. Installing legs
There're no "C-5" text in some kits. We're sorry.

1. Cutting C-6 and prepare short skewer again
2. Putting C-6 to the short skewer
It'll be easy put skewer with rotating.
Please becareful not to get hurt by skewer.
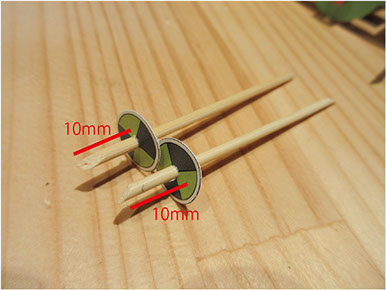
3. Putting C-6 to both skewers
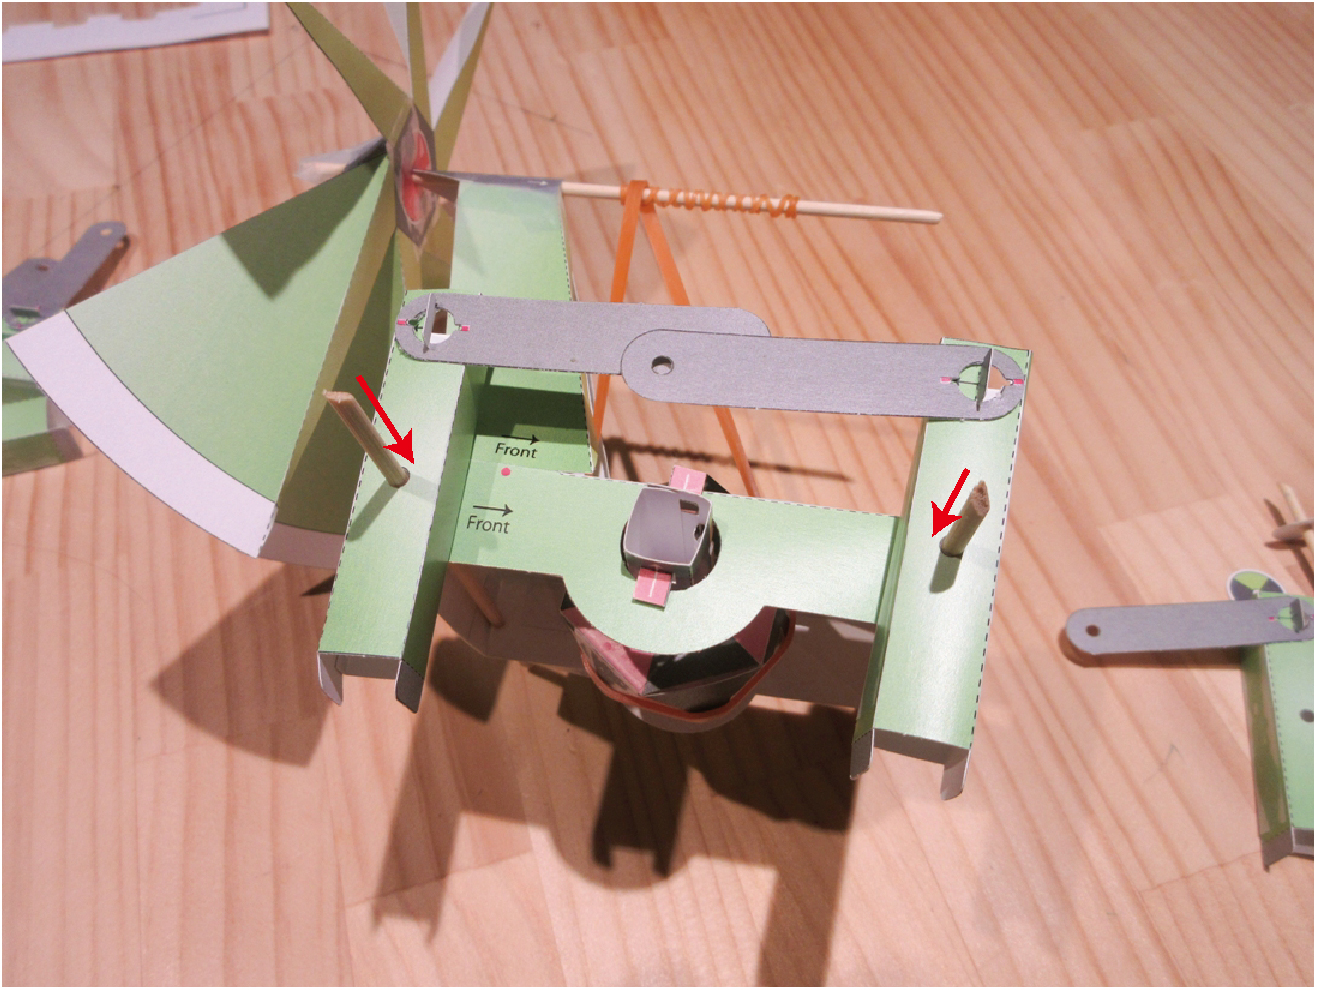
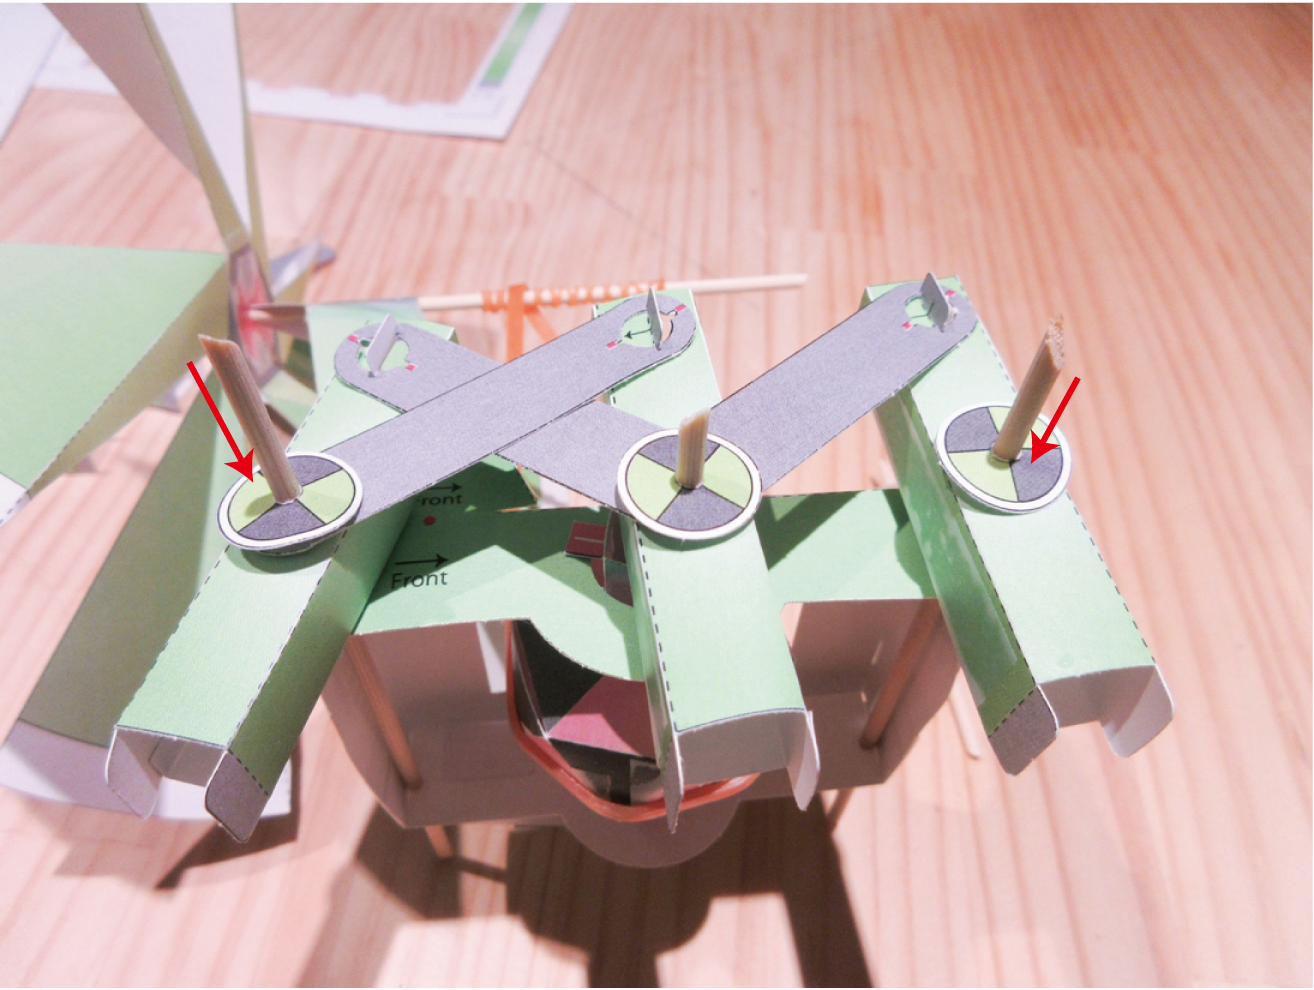
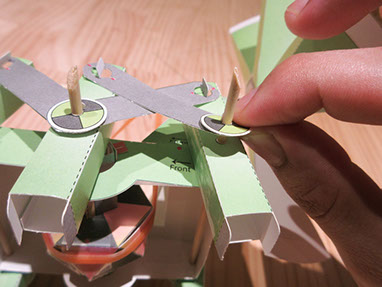
4. Putting leg to both front and rear skewers

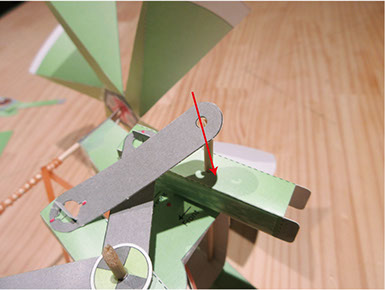
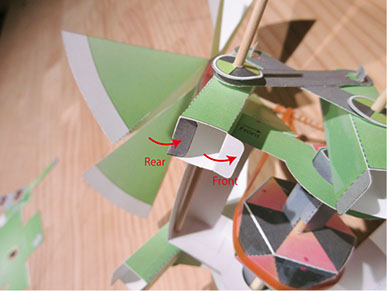
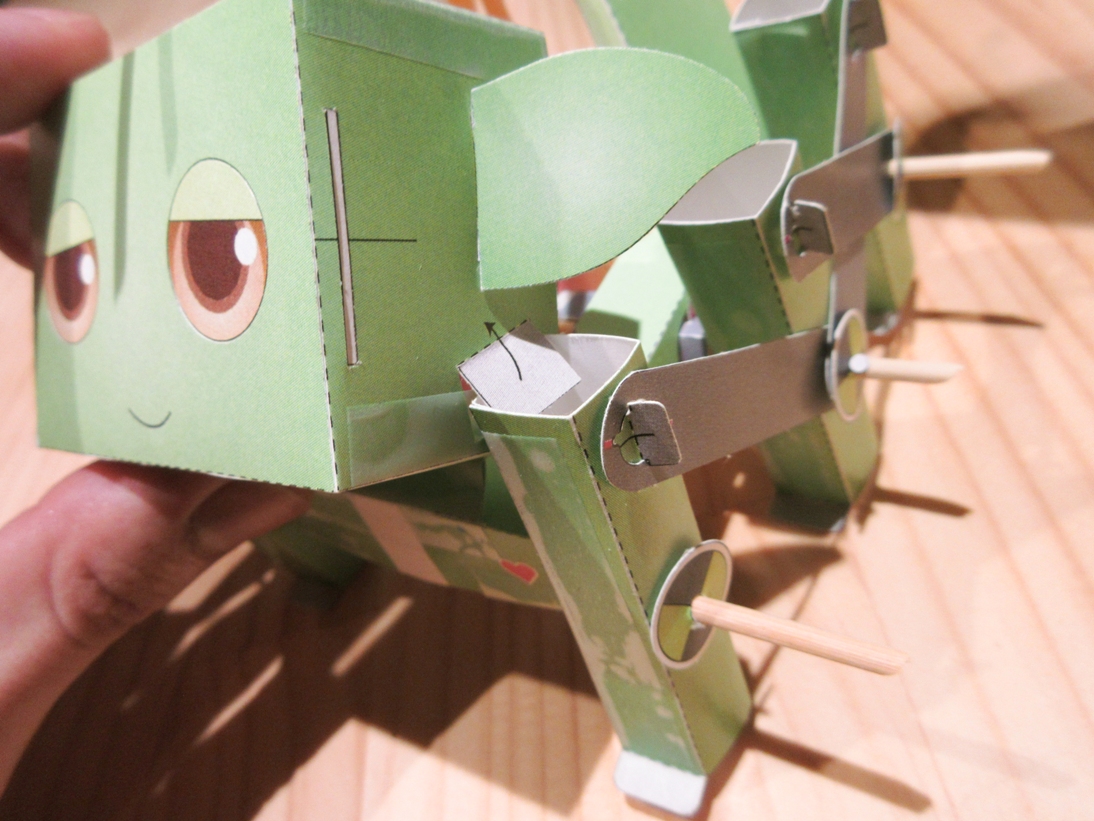
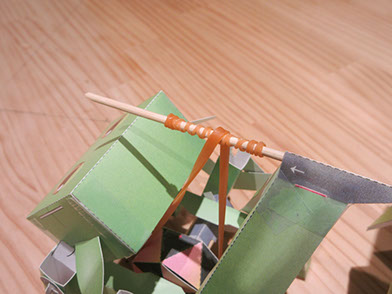
5. Inserting skewers to the center leg and crank
*Please check the picture
Please insert skewer to the red arrow point
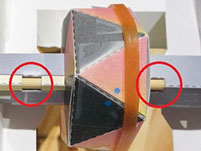
If success, you can see skewer from 2 points like the right picture.
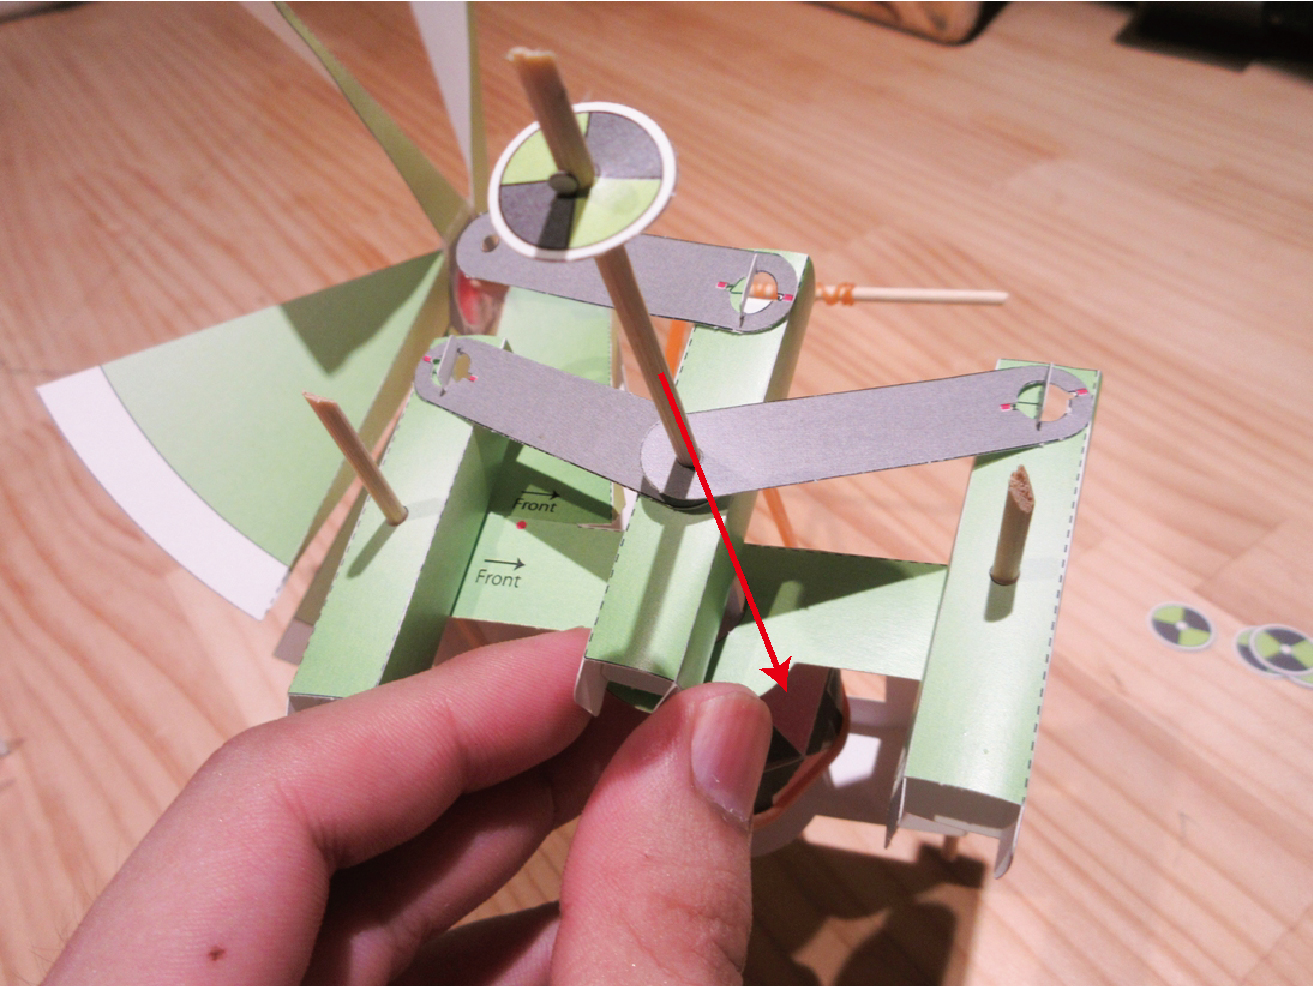
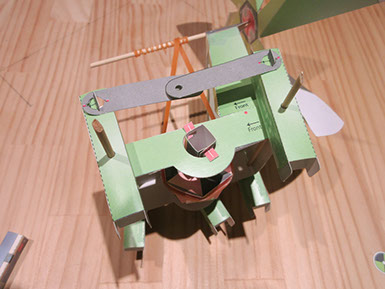
6. Puttnig center leg's link to rear skewers
7. Putting C-5 to both front and rear skewer
8. Making oposit side.
Put leg to both front and rear skewers.
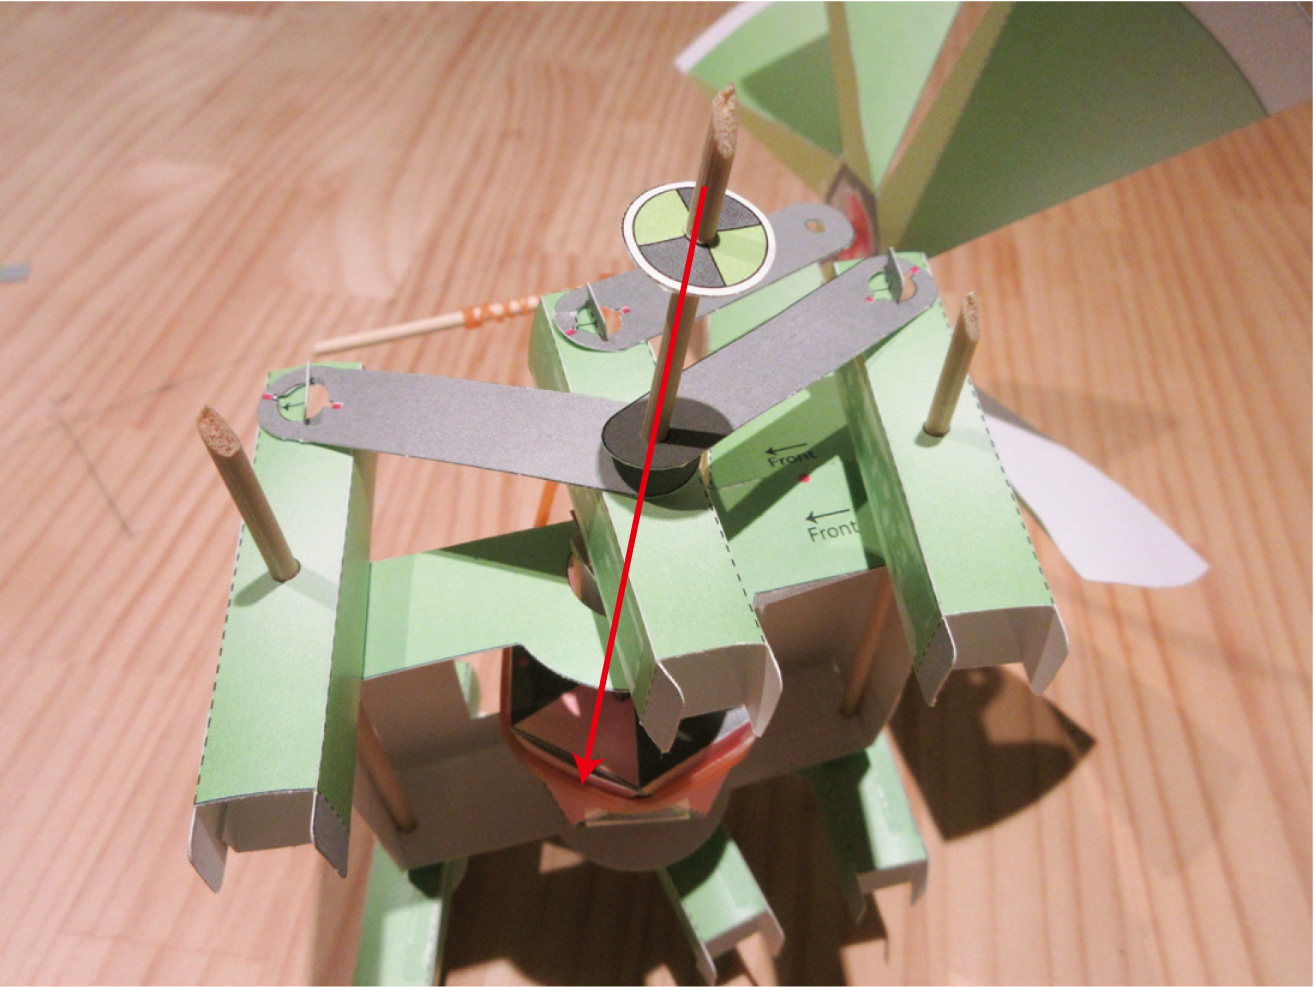
9. Inserting skewers to the center leg and crank

10. Please check that the skewer is enough inserted and stable.
11. Putting center leg's link to rear skewer
12. Putting C-5 to both front and rear skewer
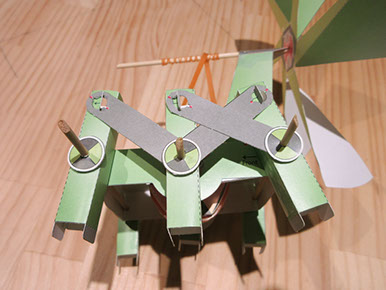
It'll be like this
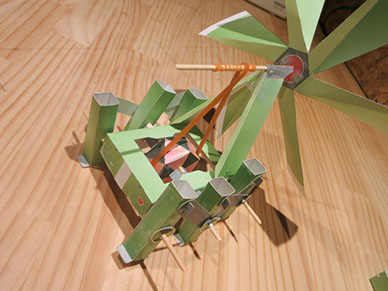
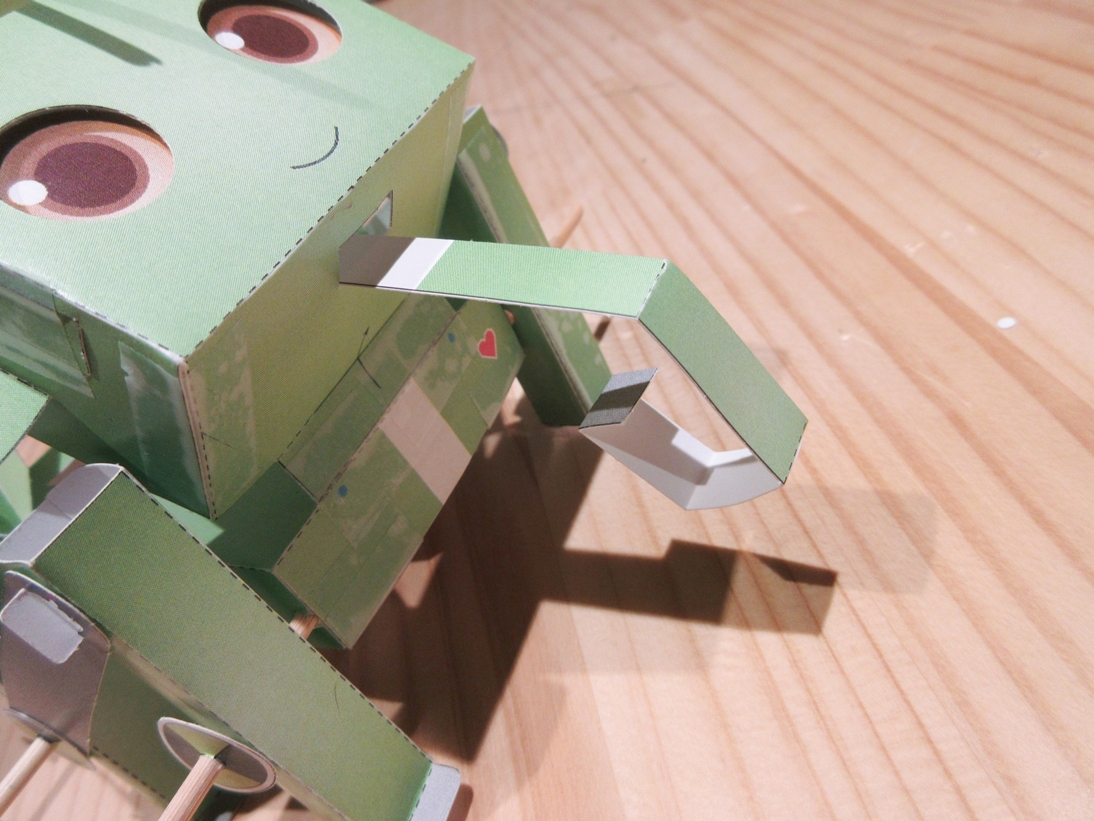
12. Folding all toe parts to front direction like this picture
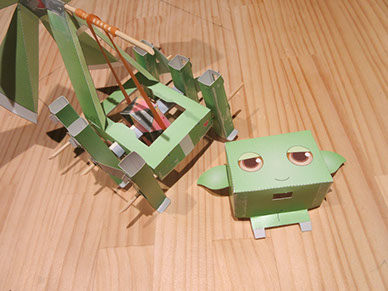
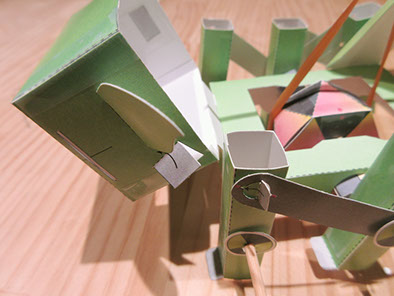
Completed to install legs
9. Making head
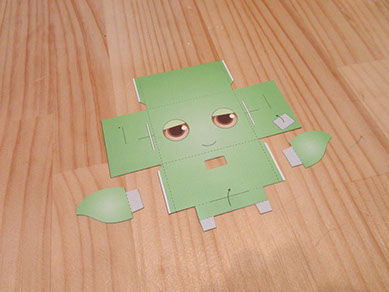
1. Cutting B-4(Face), A-3(Ears)
2. Folding face
Please don't forget to fold the side gray panel (right bottom picture)
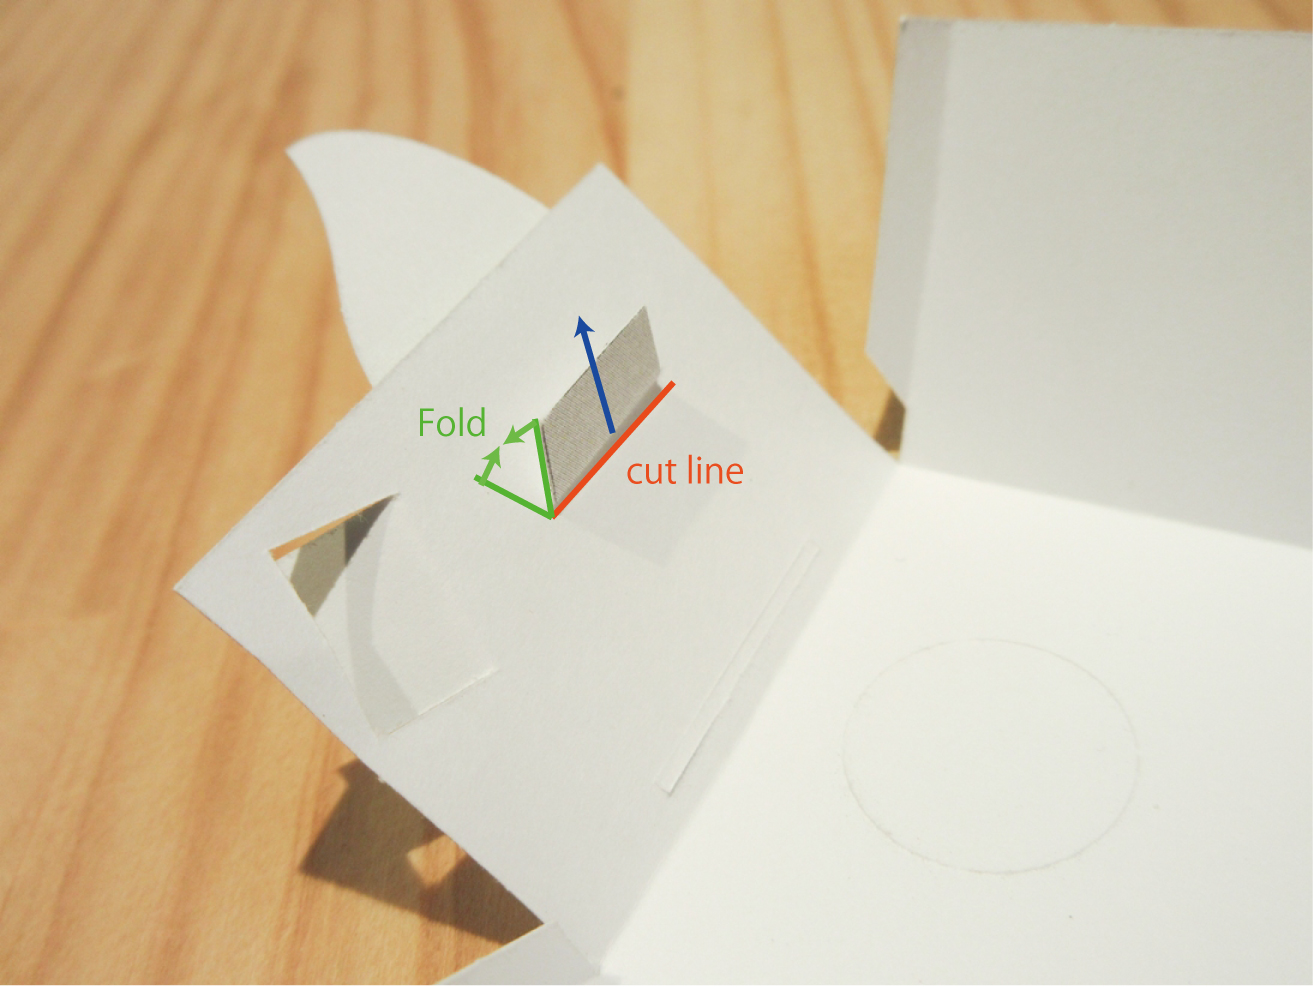
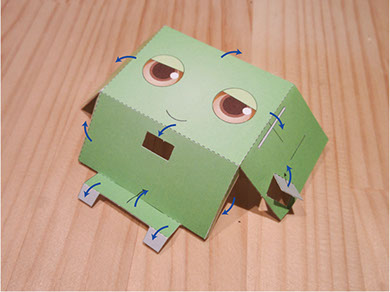
3. Putting A-3(Ears) to the cut line
4. Taping ear from inside
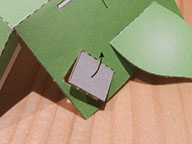
5. Fold gray panel a little like this picture
* Please don't fold too much
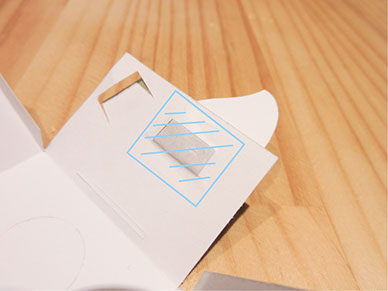
6. Taping each 4 corners
10. Installing head to body
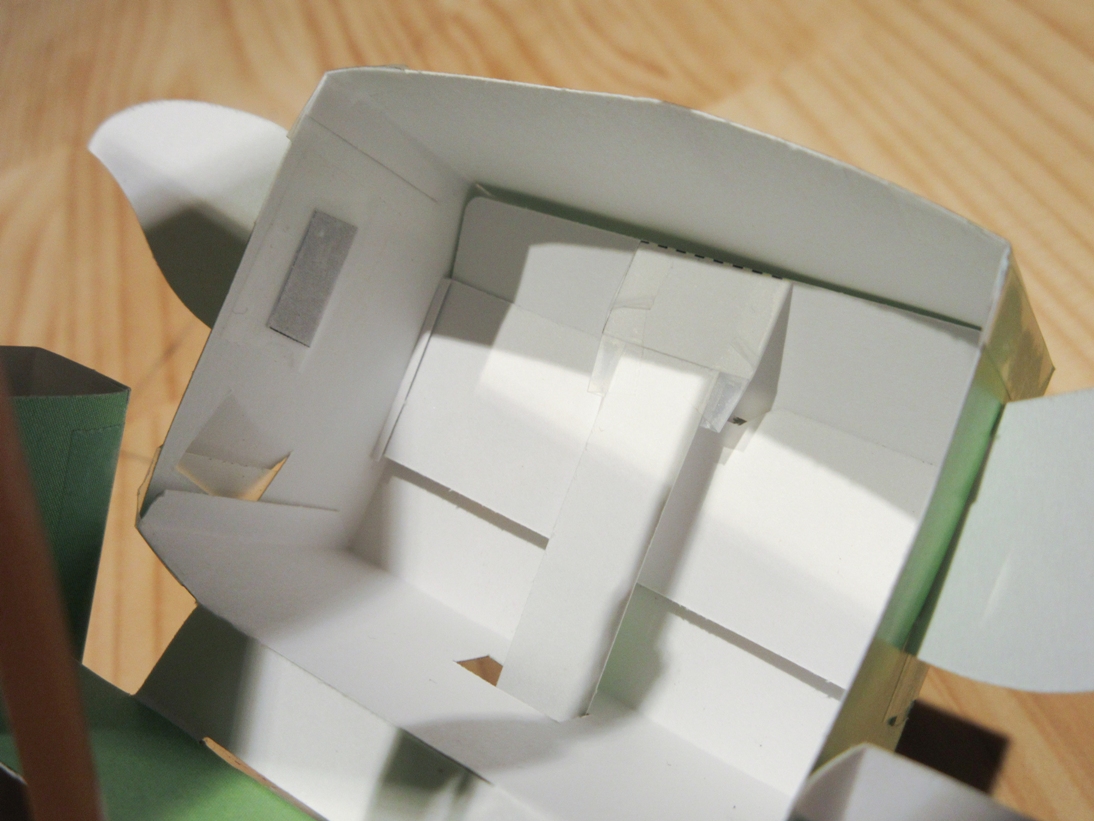
1. Preparing the body and head
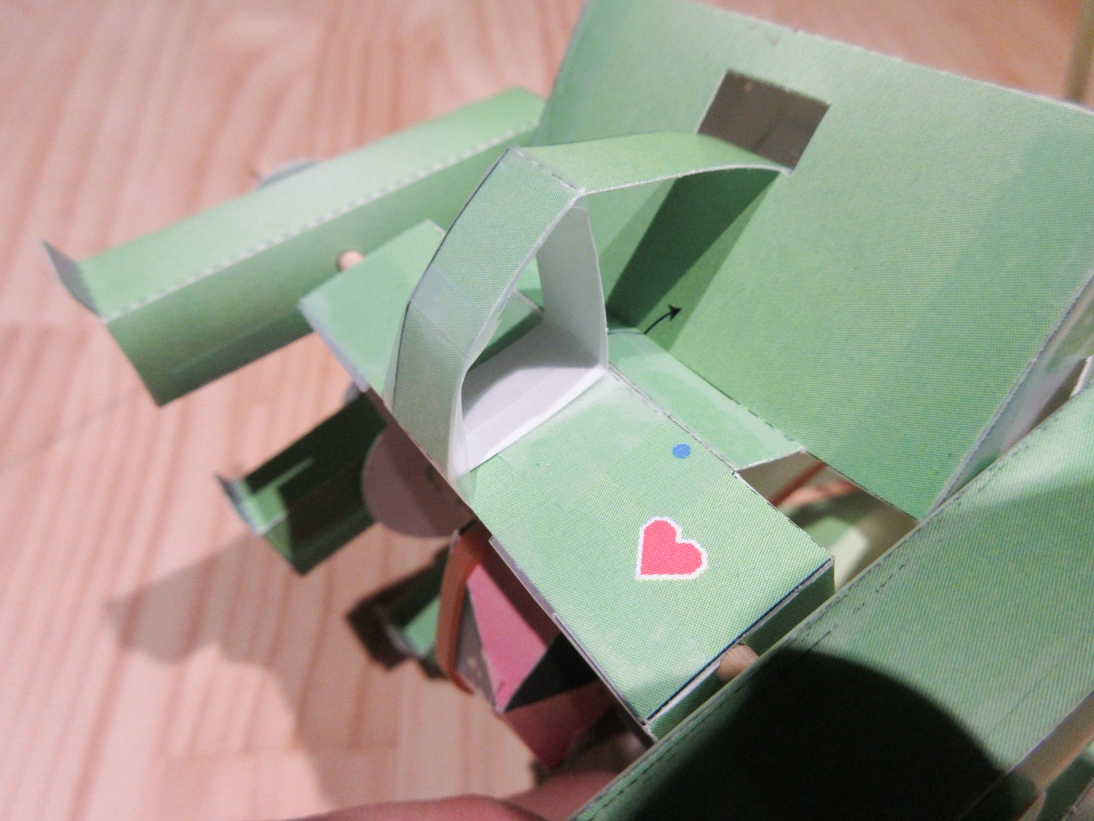
2. Pushing blue circle ● from inside and putting head's gray parts to cut line like this picture (2 places)
3. Taping for connecting head and body
4. Putting on head to the left front leg by using side gray panel
11. Walking test
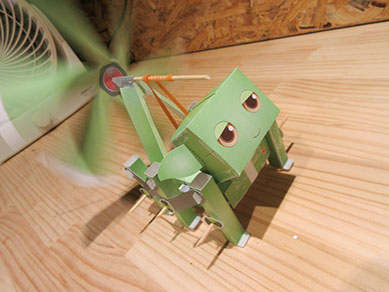
1. Checking that rubber band (large) hang like this
2. Using electric fan and let's watch it can walk well or not
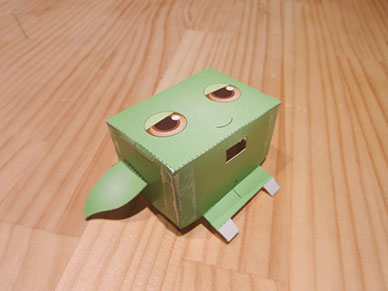
It will be like this if success.
12. Additional function
It's almost complete to make Craftel.
But we prepared eye blinking function for enjoying more.
1. Cutting B-5, B-6, C-6
2. Removing the connection with head and left leg
3. Removing flat eyes on the face
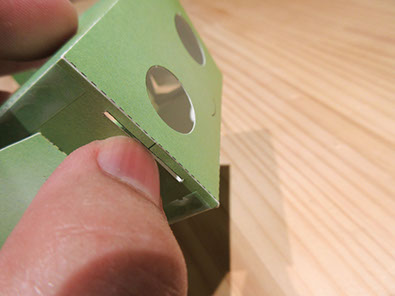
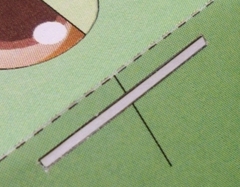
4. Cutting rectangle hole to the both side.
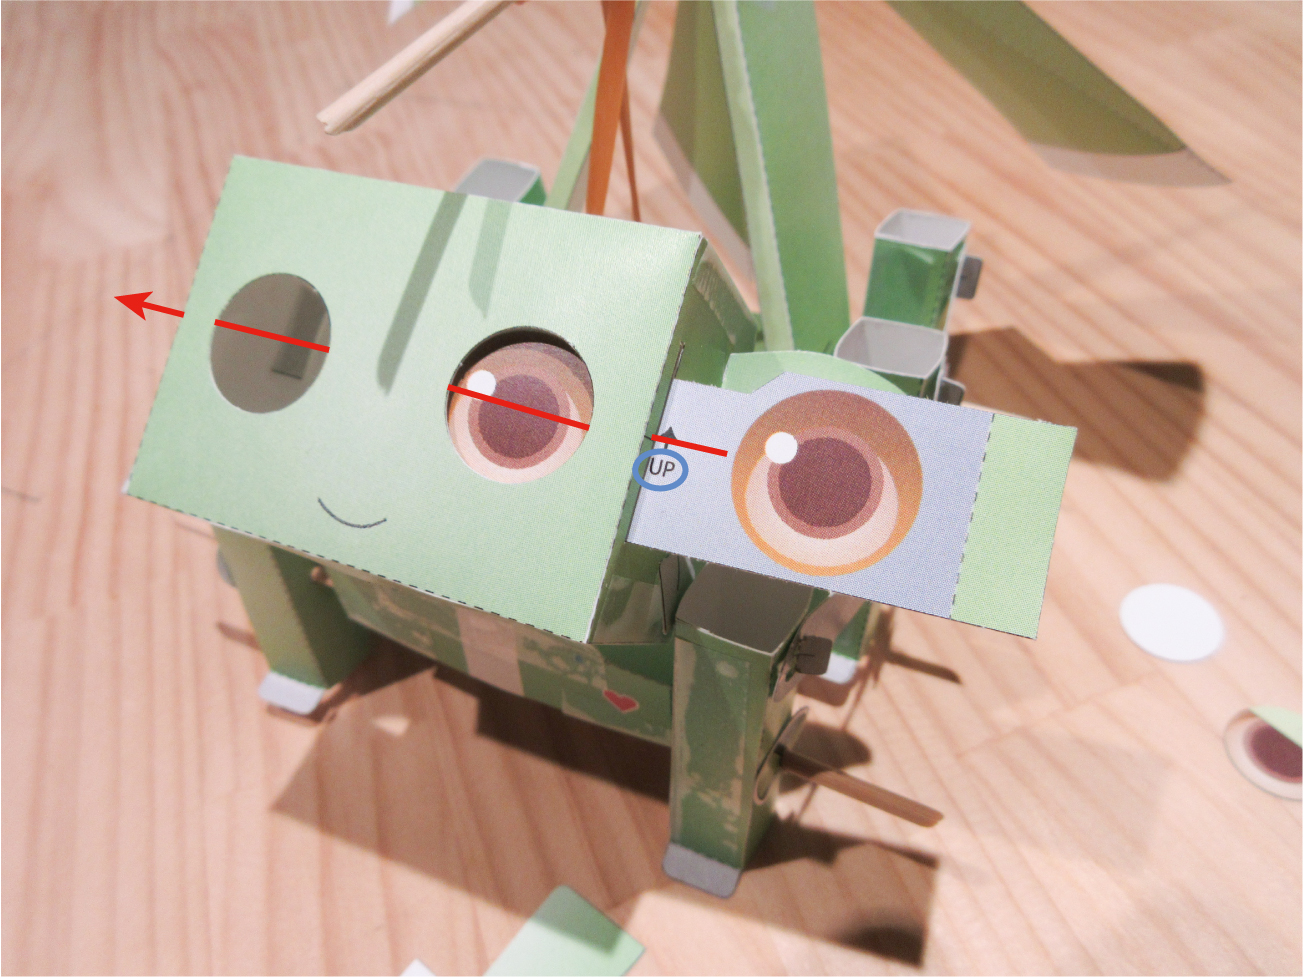
5. Sliding B-6 to left side to right side through the rectangle hole.
* Check the "UP" text is up
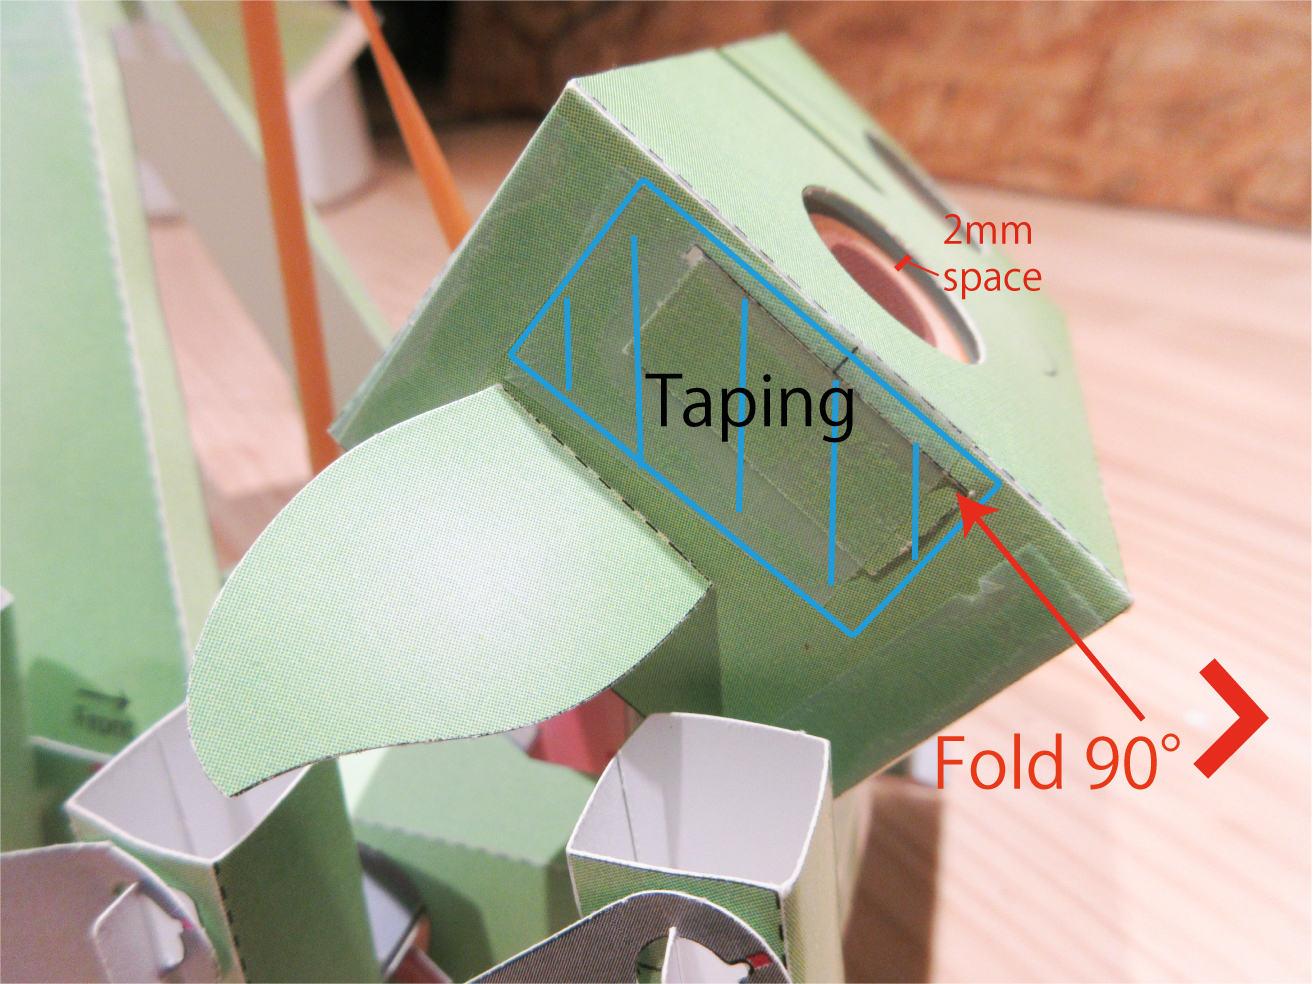
6. Folding B-6 to 90 degrees and taping.
It's need about 2mm space between face and eyes like the picture.
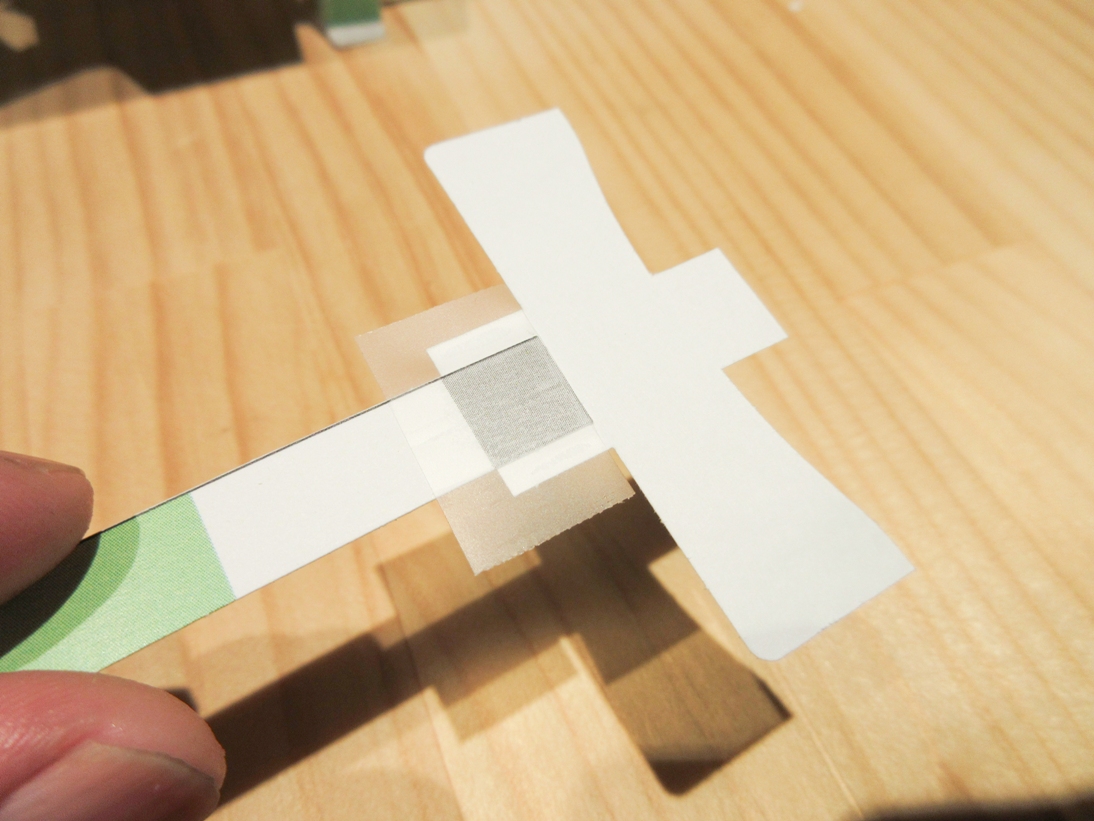
7. Putting tape on the C-6 and B-5
* Please make it especially same like the picture
8. Taping
9. Folding like this
10. There is a hole below the head.
Pass throw C-6 like this picture.
11. Folding C-6 like this
12. Taping and making triangle ring
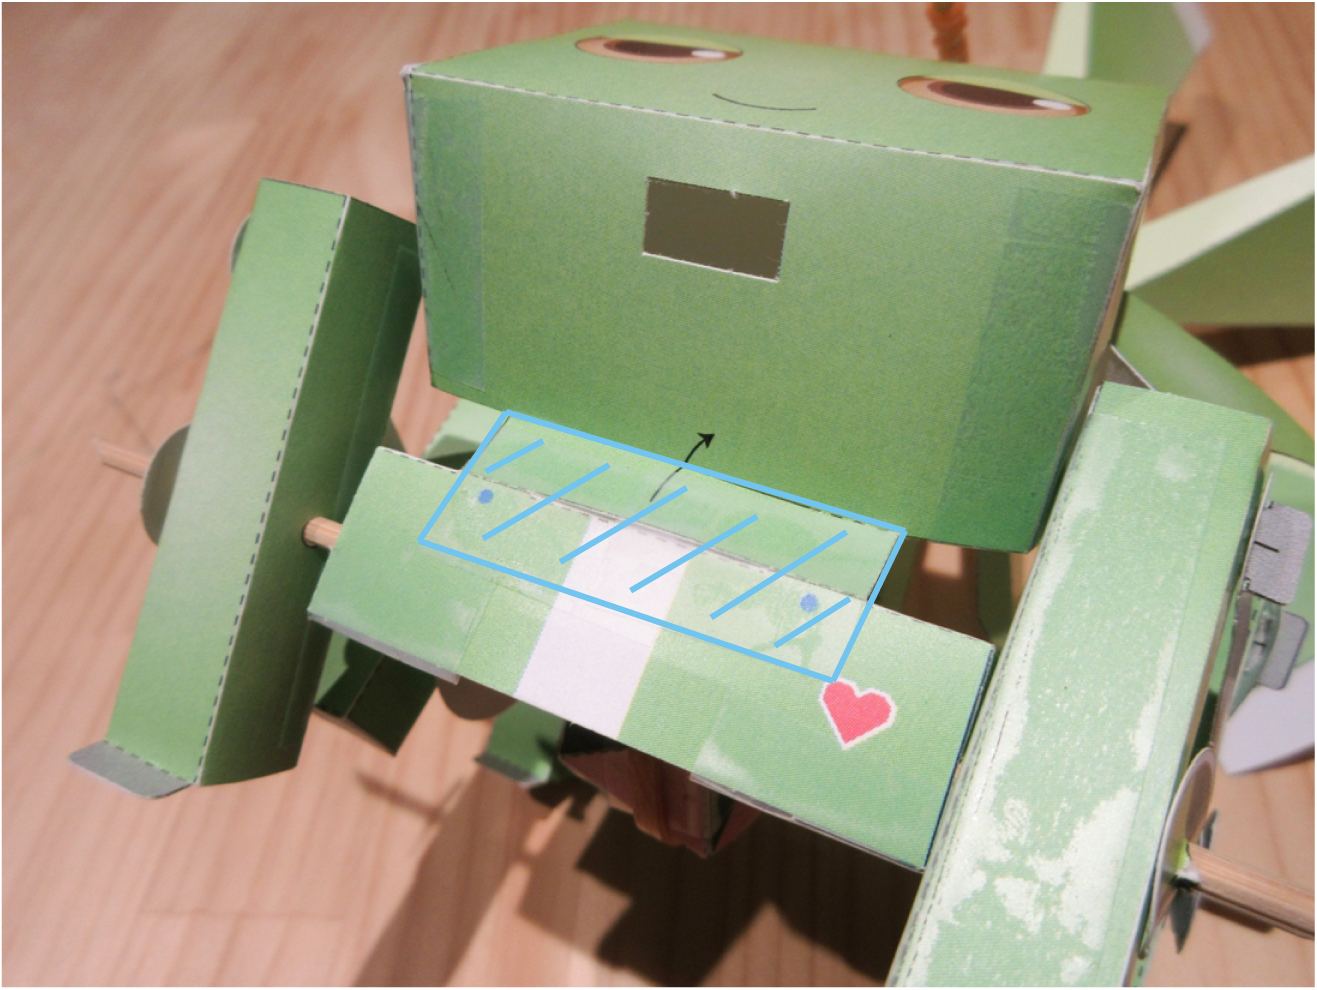
13. There is a different color area on the front side of the chasis. It's position guide.
Taping below at first like the picture
14. Taping inside of the ring to chasis
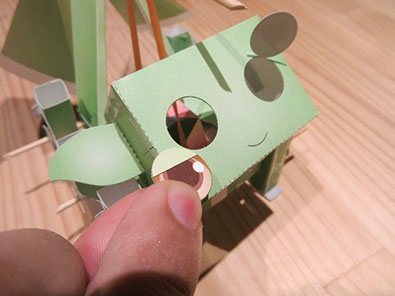
15. Installing B-5 between eye and face.
Eye blinking test by hand. It will move smoothly like this.
Eye blinking test by walking.
It will be like this. Please try to adjust the movement by changing the C-6 parts position.
Thank you for making. That's all.
Could you make well ?
If you have any questions, please feel free to use this form for contacting to us.
We also welcome your opinions about this making guide page.
